Best Food Photography Tips written and photographed by me, Jena Carlin as featured in Sift Magazine, Fall 2015 + some EXTRAS!
In case you are interested, here is the sum up of my qualifications: I have a Bachelor of Fine Arts degree in studio painting and a minor in photography in 2009. In my senior year, I got an internship at one of the largest food photography studios in the nation, Readers Digest. We worked on magazines such as Taste of Home, Everyday with Rachel Ray, Simple and Delicious, Country Woman to name a few. I have been sharping my skills at food photography and worked under the best food photographers around obtaining my signature style.
Now, you can see my work in print and featured on sites such as Martha Stewart, Kohls, Maurices, Sift Magazine, King Aruther, Roads Rolls, Stella Cheese, Wiscon Cheese Board, Grate Pair Share Magazine, Food Gawker, and Island Oasis.
You can check out my full bio here for more information.
Here is a list of more food Photography and styling tips.
6 Quick Tips for Better Food Photos at Restaurants
Enjoy!
Elicit powerful responses like, “Wow, I want to eat that right now!” Or better yet, “I am making that tonight!”
It’s often said that words inform, but images persuade. Take the experience of dining out: the image of food has a greater influence on a majority of us than the description itself. A restaurant could hire Walt Whitman, C.S. Lewis or J.D. Salinger to depict a dish in the most elegant, mouth-watering prose imaginable, but if the photograph fails to support the text, it most likely will not be ordered. The difference between an article, description or food blog that’s merely interesting and one that truly captivates is the photography.
While food photography is not the easiest of the arts, a few quick tips can help any amateur serve up appetizing imagery to their audience. One of the best resources a rookie photographer can have is advice from an accomplished photographer like Jena Carlin (www.jenacarlincreative.com). A professional commercial and lifestyle photographer, Jena is the co-founder, photographer and set stylist of Little Rusted Ladle (www.littlerustedladle.com). Below are Jena’s tips for shooting food photography like a seasoned professional.
I find the four most essential elements of food photography to be: lighting, subject, composition and styling. While each is important, none can stand alone. Combining all four elements along with a respectable camera is what separates amateurs from professionals.
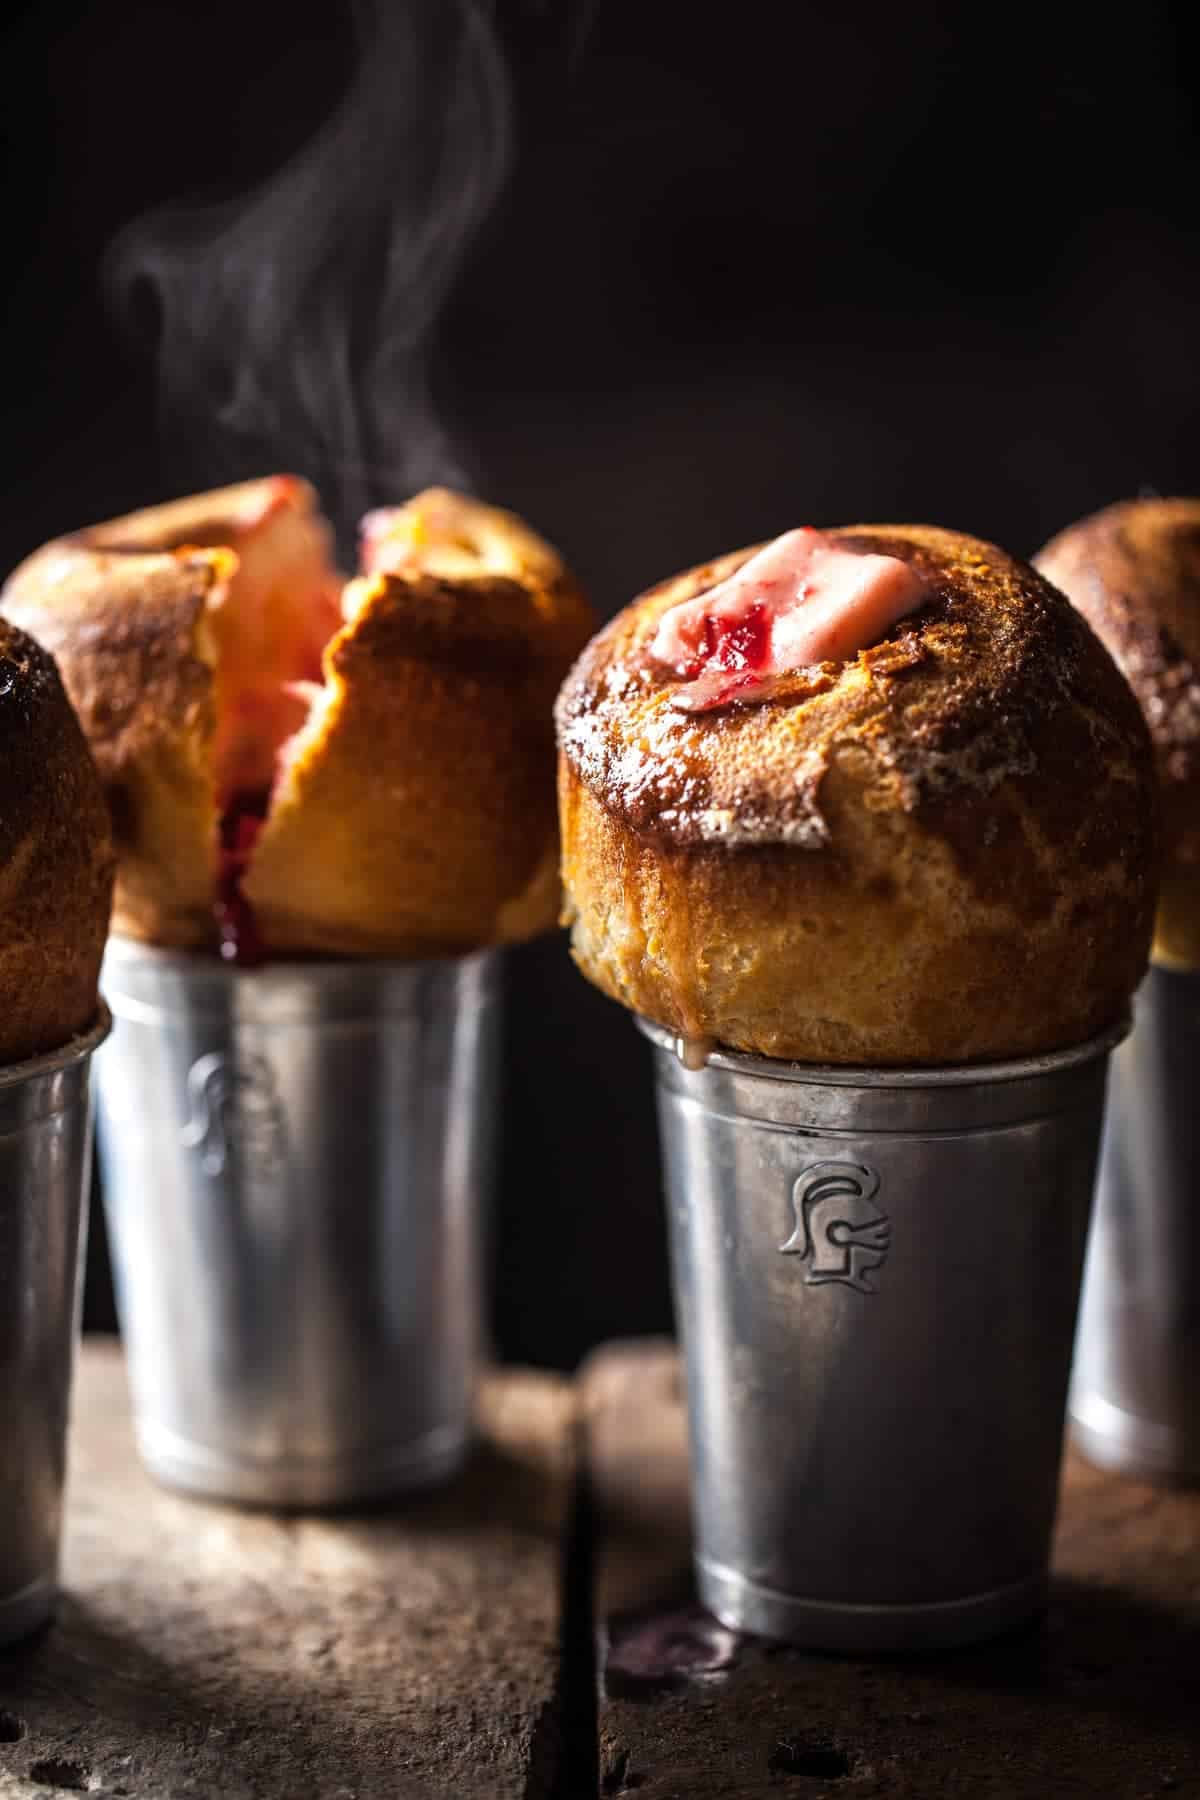
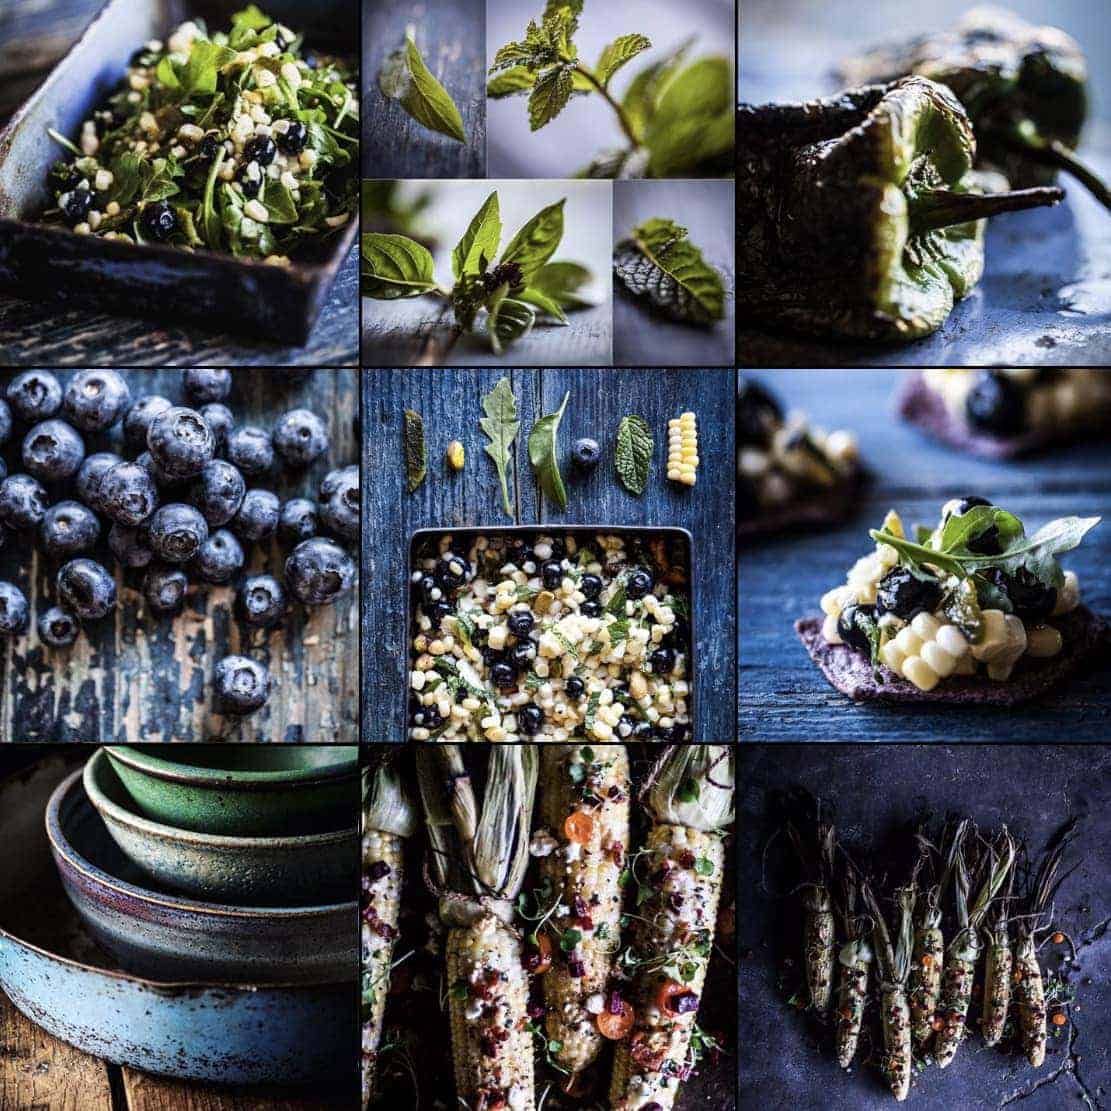
[Cranberry Butter Popovers] Caption: Produced for Little Rusted Ladle, October 2013, www.littlerustedladle.com. Food styling by Jim Rude.
Embracing your light
Beautiful results can be achieved with the help of natural light, even on a limited budget. Find a window or patio door that lets in diffused light, or, you can create diffused light yourself using white sheer curtains in lieu of professional materials. Decide early on what’s the best placement for your subject in the light so that the food, props and surface textures are enhanced. To maximize depth, try a light source to the side or behind the subject. Basic white or black foam-core or poster board is essential in any lighting set up. Place them strategically around your set; on the opposite side of your light, use white foam-core to open shadows and black foam-core to deepen shadows. Other items to have on hand to manipulate light are mirrors and silver or gold reflective paper. I use mirrors to redirect light back into the set from different angles, to highlight different areas on the subject. Reflective paper is used in the same way as the mirror, but provides a more subtle effect.

Knowing your subject
Photograph something interesting if you have the opportunity. Remember, the goal is to elicit powerful responses like, “Wow, I want to eat that right now!” Or better yet, “I am making that tonight!” Examine your subject from every angle for the shot, concentrating on what makes this particular dish appealing or unique. Try an overhead, a straight-on, and a three-quarters view to start with. Determine which of the three angles (or somewhere in-between) best suits your dish.
It’s important to remember that food can lose its luster when sitting out too long. To avoid this, use a “stand in” dish of equal color and height to make your composition on set. When the set is finally ready, bring in the real dish, often called “the hero,” and be quick on the camera trigger. Work with a food stylist, if possible. I don’t make most of the food I shoot; at Little Rusted Ladle I have the pleasure of working with professional food stylist Jim Rude of Rude on Food (rudeonfood.hypermart.net). If you’re styling the food yourself, here are few essential food styling tools to have on hand:
Assorted paintbrushes: to brush on glaze
Eyedropper: to place drips in just the right spots
Spray bottle: to add water droplets or an oil glisten
Tweezers: for minute tweaks
Composing your image
Familiarize yourself with the rule of thirds. Most camera viewfinders, and even camera phone apps, such as Instagram, display the four faint lines that break up the image into nine parts (i.e., the rule of thirds). A quick way to remember this is to think of a tic-tac-toe board and keep your main interest at the intersections of these points.
Use design elements such as line, shape, size, space, color, texture and value to create contrast, emphasis, proportion, pattern and gradient within your composition. Pinpoint an area of focus and utilize your foreground, mid-ground and background to create depth. Practice, practice, practice! With trial and error, you will develop an artistic eye and your own sense of style.
Styling the set
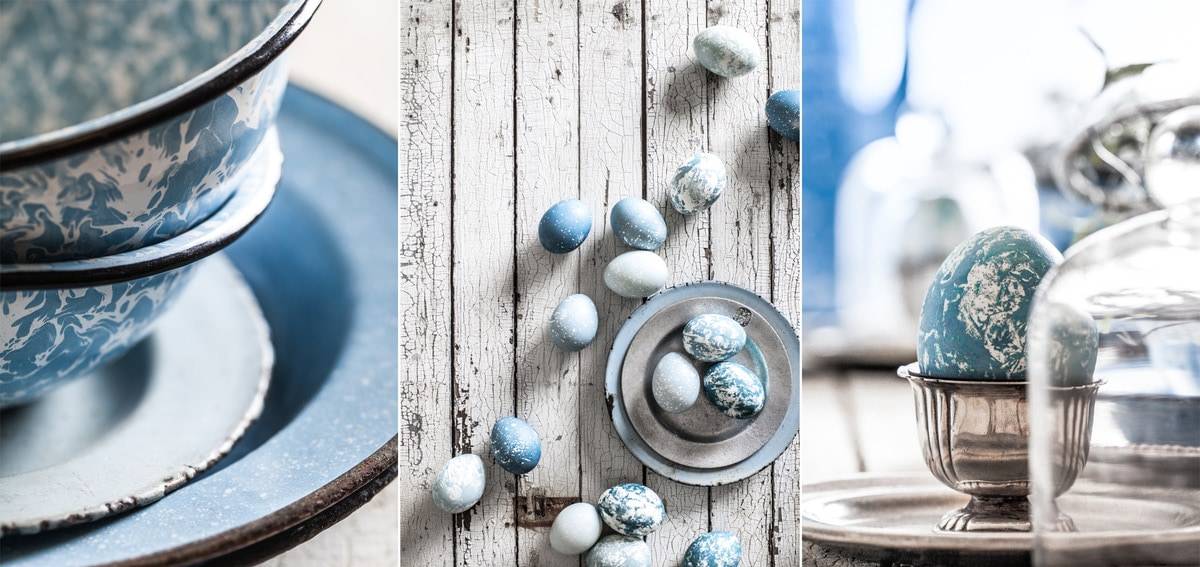
This is my favorite! Tell a story; create a mood by choosing appropriate backgrounds, surfaces and props that accentuate your recipe. You become the artist by being mindful of color, texture, balance and shapes, and the positive and negative spaces they create in your image. I paint a lot of my own surfaces and backgrounds for my projects. The walls of my prop room are lined with antiques. I have a particular affinity for rustic wood, tattered fabric, oxidized metal, handmade dishes and anything with chipped paint. However, feel free to experiment and discover your own personal style!


Research
Be inspired by the world of food photography! Buy cookbooks, subscribe to magazines, follow food photography blogs such as Little Rusted Ladle, create inspiring mood boards on Pinterest (here is mine) , and of course—keep reading Sift! Discover what you like best about other people’s work. Dissect the image to figure out how they created it and try to apply the concepts to your own photography. Look at a handful of your favorite images that you have created. Make a list of words that describe the images and mood. Narrow it down to your top three words and invest in the concept of those words to capture your style.
What’s in my camera bag?
Where I prop shop
Etsy, TJ Maxx, World Market, Anthropologie, antique stores, flea markets, estate sales and secondhand stores just to name a few.
*This post contains Amazon affiliate links. If you choose to purchase anything via one of my links, at no extra cost to you, Little Rusted Ladle makes few extra pennies. Thanks for helping support Little Rusted Ladle!