Here you'll find how to craft a food photography setup and what you'll need for the perfect studio space!
Ever wonder if it's better to set up at your home or rent out space? In this post, I will deep dive into the pros and cons of these options as well as give you a tour of all the equipment I use for making professional food and lifestyle images for me and my clients.
Bonus: A look into one of my most coveted spaces…my prop room, including tips for storing and hunting down deals and treasures of your own!
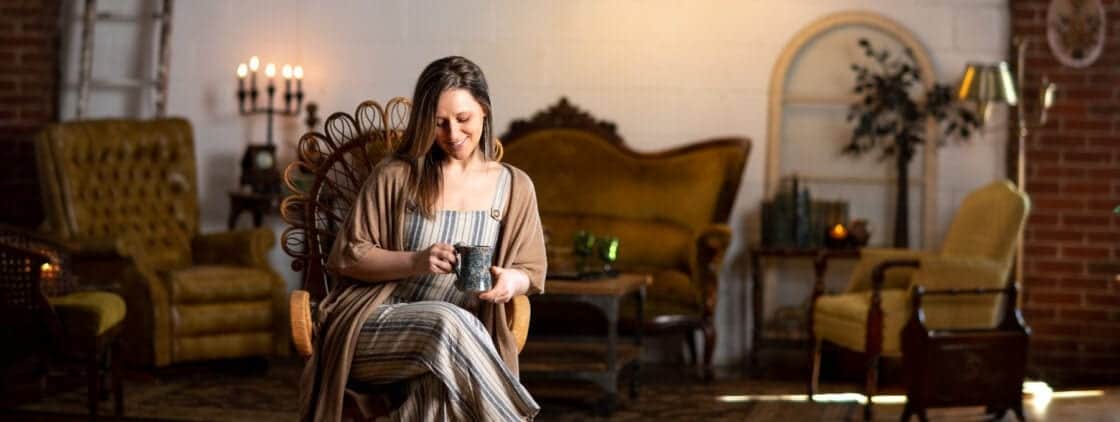
Studio Inspiration
I am just so over the moon about sharing my studio space with YOU, whoever you are! Whether you are a potential client, a current client, an up-and-coming artist, an established artist, or just a curious visitor, WELCOME!
I am excited for you because I know you're going to feel my enthusiasm for my work, my studio space, and what I love to do. I hope this lights you up and inspires you to take action to evolve and be thankful for the space that you have. Comment below! I would love to hear from you!
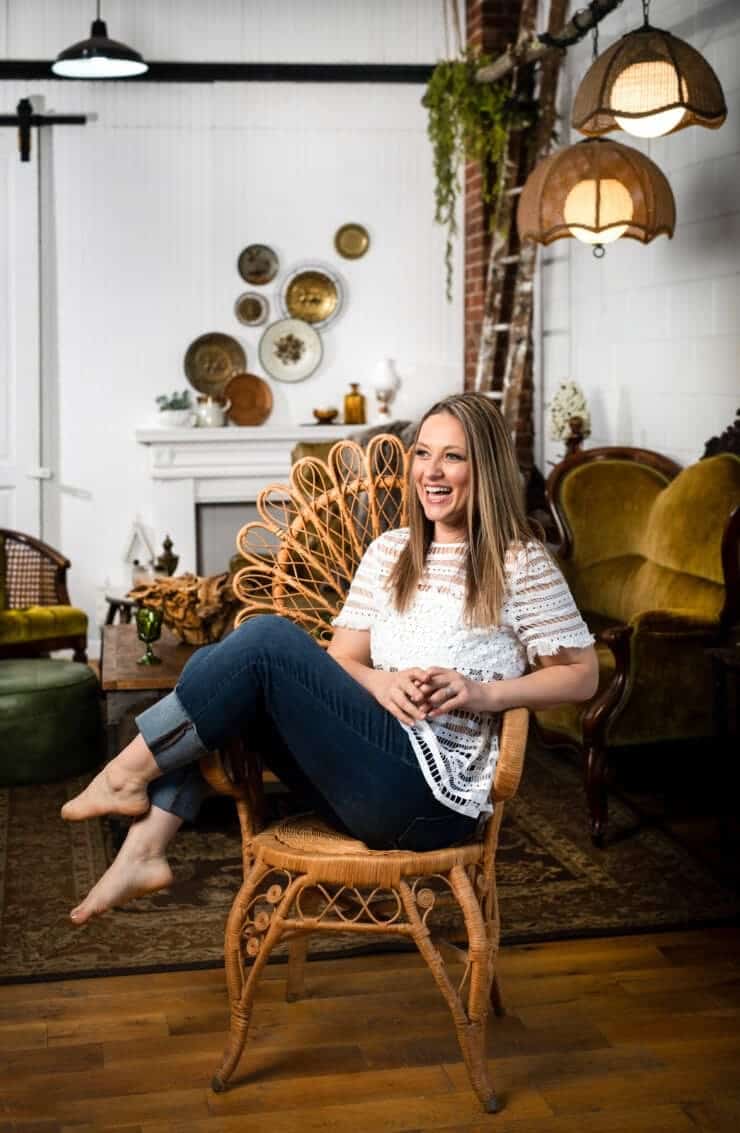
What goes into a Food Photography Studio Setup?
You will need:
- Shooting Bay: an area large enough to shoot what you need, could be big enough for a tabletop or whole room set!
- Lighting: can be studio lights or a window for natural light (see what I recommend here)
- Gear storage area: to hold a tripod, c stands, camera, lenses, computer, tether cord, and more (see what I recommend here)
- prop storage area
- camera
- Kitchen with working refrigerator, oven, toaster, blender, pots and pans…basically everything you might need to cook!
- Working space for the food stylist and set stylist: layout lots of tables with good light for them to work
- Client working and lounging area
- Area for lunch with the crew
- Reliable WiFi for your clients and to send images remotely
- Working/set building/painting area
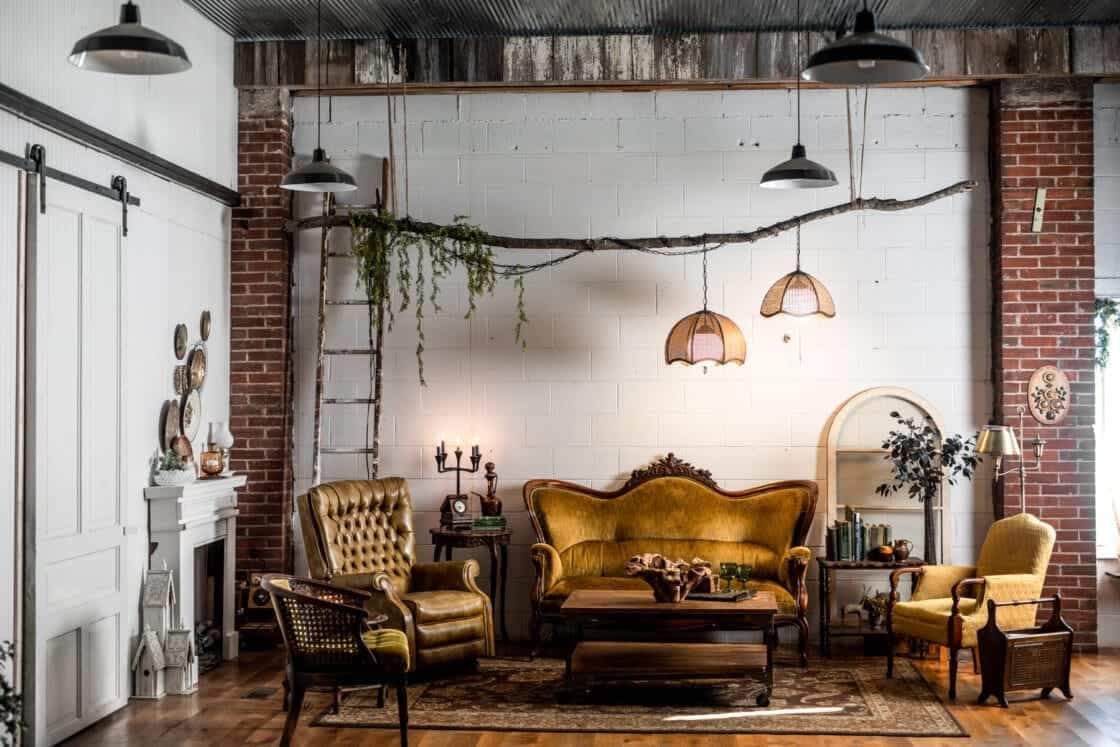
Day one at the new studio!
This is the day it all started. View the blank canvas I shared on Instagram and follow me for continuous updates! Pay no attention to my Midwest accent! Haha!
Have your studio represent who you are as an artist and attract the clients you want!
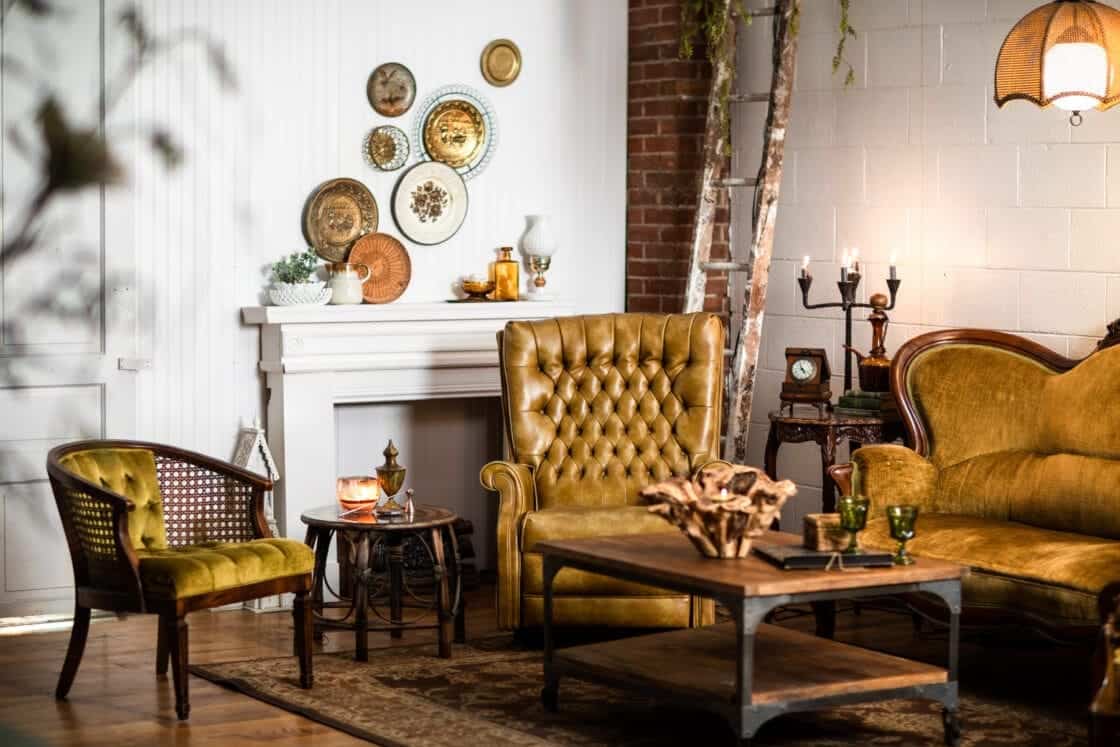
This came naturally because I have always collected things I like and want to use in photos. So when it came to styling my studio, I was able to fill it pretty quickly with props and furniture I already had in storage just waiting for the right shoot to be pulled into the light.
At its best, your studio will represent who you are as an artist and a business. The atmosphere I've created in this space is equally inspiring and functional for producing high-quality work. I have so much space for hosting shoots with clients, stylists, and assistants without feeling cramped.
My studio is also optimized for my work style. It has everything I could want and need, so it's a great place to shoot. Some of my favorite clients collaborate with me remotely. They send their products to me and I have the resources and artistic environment to create stunning images for them.
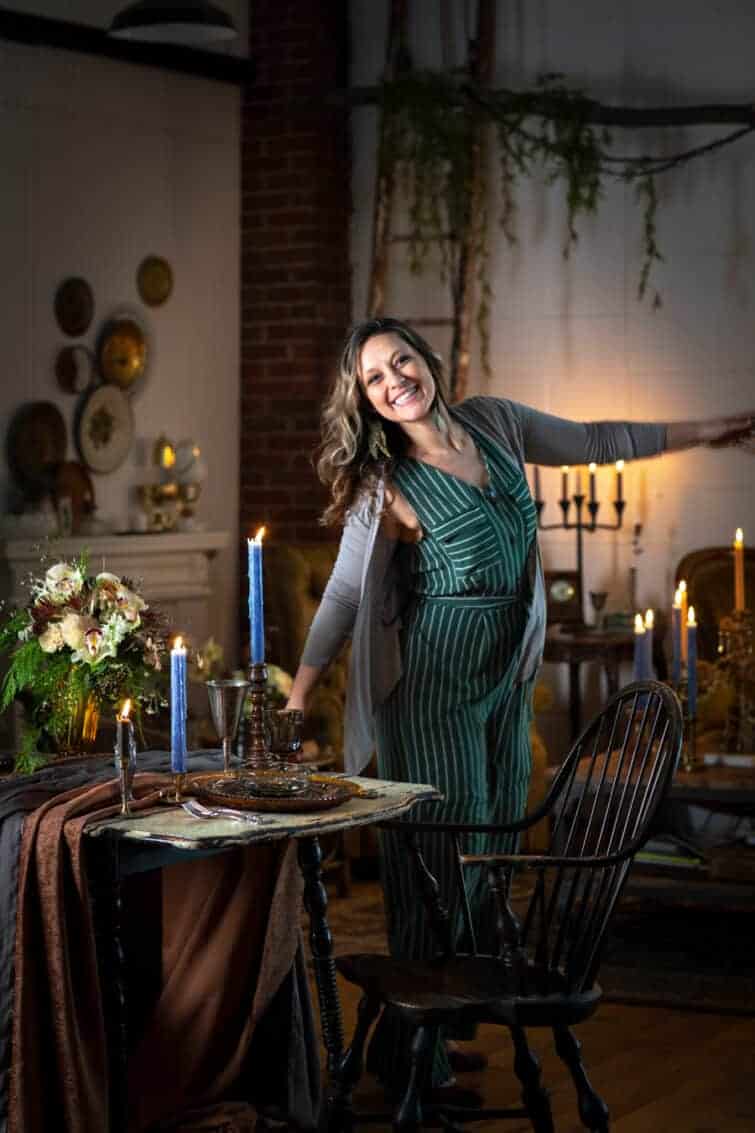
Having some of my favorite furniture and props on display is fun and functional. I have a couple of sitting areas in my photography studio setup where I can talk with clients, relax with friends and family, and host a studio open house! I even have a desk set up so I can spend some productive laptop time at the studio.
Prop Shopping Tips
Looking back at your portfolio, what are some elements you really like? What photographs well with the way you like to light and style? You can save yourself a lot of hassle (and cash!) by narrowing down your style first so you don't buy everything.
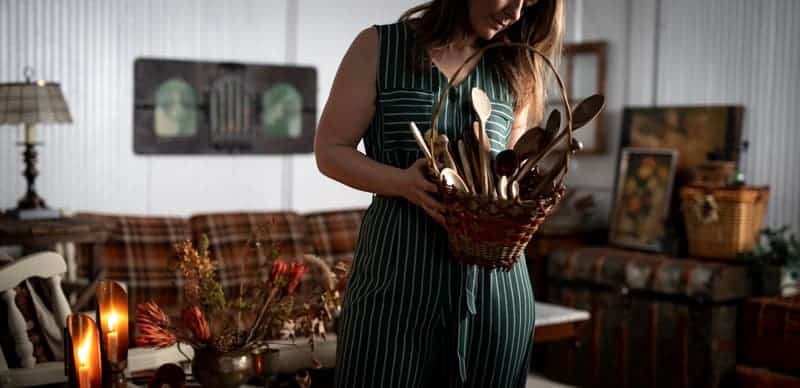
On the other hand, you may have clients with a range of styles, so it's good to have a solid variety. I like to organize my props by color and type of item so I can–at a glance–see any holes in my collection.
The Kitchen
The kitchen in my photography studio setup is set within speaking distance of the bays to keep the lines of communication open and ensure work efficiency. We built an extra 8-foot island in a well-lit area ideal for food styling.
I highlight my brand colors: green, gray, and tan, throughout my studio to give my clients a cohesive experience when they walk in. The shelves in my kitchen have a curated collection of items that reflect Little Rusted Ladle charm.
Where's all your equipment?
While I like to display a lot of my props, equipment is just not my style. There are plenty of studios (almost every one I've been in) that have their lights, softboxes, light modifiers, and grip ready and hanging on the wall to be grabbed at a moment's notice. It's definitely efficient, and I don't have anything against it. I just prefer to have mine in a walk-in closet next to my shooting area. It's really the same distance and just as fast, but walled off because, frankly, I don't care to look at it.
Displaying my props is much more rewarding to me, but that is just my style. You may love a clean, white contemporary look displaying all of the techy gear. If that is what creates a space that you love, go for it! And send me photos, because I love seeing peoples shooting spaces! That's why I am sharing mine. Back to the goods… Here is a detailed list of what is in my equipment room with links on where to buy!
Studio Timeline
I haven't always had this much photography studio space. In fact, I started out with very humble beginnings. Here is the timeline of the evolution of my studio…
2009: Free and Scrappy
During the first few months of my first photography internship after college, I was couch surfing! Not only was I moving between various friend's apartments, but when they were away for awhile I would set up test photo shoots in their apartments and would scramble to take them down before they got home and discovered my secret!
- PRO: Free! Teaches you how to work fast and be scrappy with materials, space, and time.
- CON: Total hassle. Have to work around everyone's schedule.
2010 – 2011: Working for others and for yourself.
I moved to a small apartment but there was not enough room for a studio. I would stay late after work and come in my on days off to test shoot at the studio where I worked.
- PRO: Free! You get to work with GREAT equipment and maybe even get to use their props!
- CON: You HAVE to earn this opportunity and it may be the most valuable experience…so this is really a pro too! I had internships and assisted at many studios. You have to work HARD, show your enthusiasm, and ask for these types of benefits.
2011 – 2014: Spaces within your home.
After getting married my husband and I bought a small two-bedroom house. In the spare bedroom, I would store a lot of my props and edit my photos. A photographer from work was renting a studio outside the city, but was willing to share some space as a way to offset their rent. I moved all of my props into the studio and my husband was so happy to get back precious space around our house!
Well, a week later I started this blog to share and document my passions. My studio roommate saw the blog and decided that, due to conflicting passions, we shouldn't share space together. (This is with no hard feelings and this person is still a dear friend of mine.) After a total of one week, I was moving out and much to my husband's chagrin, I was back with all my props to set up my photo shoots in the second bedroom!
- PRO: Free and so convenient if you have any extra space! Think office, garage, basement…
- CON: As you grow this can get crowded. And, our home wasn't the ideal place for clients. I did all of my client work on location or rented out larger studios (which can be costly for the client).
2014 – 2015: Budget-Friendly
We discovered that we were pregnant with our first child and needed the spare bedroom to become a nursery, so the hunt was on! Money was tight and we knew it would be even more scarce soon. After scouring the area, we found an old dentist's office that was in our budget to rent out. It took quite a few cans of paint to get it looking great. My husband took out the old dentist sink and built a little makeshift kitchen. It was most definitely not ideal, but I made it work!
- PRO: Finally having your own space is freeing! It was small, but charming.
- CON: Budget was tight and the kitchen was small to say the least. My food stylist did not like this situation.
2015 – 2017: Upgrade within your home.
Shortly after our first child was born, we moved further out of the city into a larger home. The basement was very large and I was able to store all of my props in the basement and used the rest of the space as my makeshift studio. My husband did not enjoy sharing our family kitchen, but I loved finally having all of my supplies in one spot!
- PRO: Free and so convenient if you have any extra space!
- CON: In our home, which was not ideal for clients. I did all of my client work on location or rented out larger studios (again, can be costly for the client).
2018 – Present Day: Dream life and studio.
With our family growing, I moved back to my home town in Central Wisconsin and started working out of this beautiful historic building. It has so much character and the whole thing means so much to me! I will share more right after the pros and cons.
- PRO: Moving out into the country allowed me to have a larger space without spending the big-city prices so interior clients can come or ship their product to me. They get big-city quality for a small-town price point.
- CON: Monthly overhead by renting.
You have questions. I have answers. Ask me anything in the comments below!
Stay tuned for more on my prop room and on the evolution of my studio to see what is coming next! Yes indeed, we are already planning something new and special for you, my clients, colleagues, and students!
Interested in viewing more food photography posts?
I gotcha covered:
- 6 Tips for Better Food Photos in Restaurants
- How to Photograph Drinks like a Pro!
- Interview with a Food Photographer
Before you leave, tell me all about your studio or dream studio in the comments below! I would love to hear!

Nice article! I’ve recently been using WFGaming Free and it’s been a reliable place to find freedeposit365 offers.
If anyone is looking for bonus tanpa deposit promos, this site is a must-visit.
Thanks for sharing this content, it aligns well with what we promote at WFGaming Free
– helping people play smarter without needing to deposit!
Кокаин
Яко это: Сильнодействующий стимулятор стержневой нервной
системы. Доставляет собой белый порошок, чаще честь имею кланяться вдыхается
чрез нос. Я мухой побуждает привыкание.
Кто такой применяет: Элементарно — юные штаты 20–40 лет,
в течение этом числе изо обеспеченных слоёв общества,
часто — чтобы «вечеринок», увеличения энергии, убежденности и еще работоспособности.
Мефедрон
Яко этто: Синтетический эфир, происхождение амфетамина.
Имеет стимулирующим равным образом
психодислептическим эффектом.
Распространён в течение наружности порошка чи таблеток.
Кто употребляет: Дети (а) также молодёжь,
чаще сверху пирушках, рейвах также в клубах.
Особенно известен на сфере этих, кто такой
ищет «новоиспеченные ощущения» чи быстрый кайф.
Бошки
Яко это: Разговорное этноним макушек соцветий растения каннабис (марихуаны), содержащих
рослую фиксацию психоактивного материала — ТГК (тетрагидроканнабинол).
Кто такой применяет: Чаще всего
— молодые также юные люди, как шест, на компании.
Распространены из-за условной доступности (а) также домысла о
«безопасности».
Ямба
Что этто: Эфир, штампуемый из надоедалы растения каннабис.
Иметь в распоряжении фигуру
тёмных, коренастых брусков.
Курится после табак чи особенные устройства.
Кто употребляет: Те ну, кто использует марихуану — подростки, учащиеся,
эпизодично сильнее совершеннолетные покупатели, склонные к «релаксу»
а также изменению восприятия.
Марихуана
Яко это: Высушенные листья и еще цветы растения каннабис.
Применяется путем курения, пореже — на еде.
Поднимает успокоение, изменённое
цветовосприятие и еще эйфорию.
Кто такой употребляет: Очень широкий
круг — от школьников ут взрослых.
В отдельных государствах легализована, яко
оказывает большое влияние на цветовосприятие
её как «неопасной», особенно язык молодёжи.
Hi! I know this is kind of off topic but I was wondering which
blog platform are you using for this site? I’m getting tired of WordPress because I’ve had problems with hackers and I’m looking at alternatives for
another platform. I would be awesome if you could point me in the direction of a
good platform.
Hi there, I enjoy reading through your article post.
I wanted to write a little comment to support you.
Great video! I love that Gluco6 is all about promoting healthy glucose metabolism naturally.
I’m dealing with afternoon energy slumps and craving sweets—it’s
reassuring to learn there’s an option that
helps manage blood sugar levels without relying on medications.
Definitely going to give it a shot!
Hi there, I discovered your web site by the use of Google whilst
searching for a comparable matter, your web site
got here up, it appears great. I’ve bookmarked it in my google bookmarks.
Hello there, just changed into alert to your weblog thru Google,
and located that it is truly informative.
I’m gonna be careful for brussels. I will appreciate should you continue this in future.
Numerous other folks will likely be benefited out of your writing.
Cheers!
Simply desire to say your article is as astounding.
The clearness in your post is just spectacular and i could
assume you’re an expert on this subject. Fine with your permission allow me to grab
your RSS feed to keep updated with forthcoming post. Thanks a million and
please continue the enjoyable work.
I’ve been interested in this after learning that ingredients like
EGCG from green tea have been shown to increase thermogenesis and fat oxidation by up
to 17%
. That kind of boost in calorie burn, even at rest,
is really compelling. The fact that it’s packed with superfruits like Camu Camu
and Mangosteen adds antioxidants and vitamins too.
Definitely thinking of trying it this month!
I’m curious to find out what blog system you have been utilizing?
I’m having some minor security issues with my latest site and I would like to find something more safe.
Do you have any recommendations?