The Perfect Hot Cocoa
Jena and I recently worked on a project that showed how to host a hot cocoa party complete with a build-your-own hot cocoa bar. I know, sounds fun, right? While developing cocoa powder recipes, and researching what others consider the “best hot cocoa recipe”, I realized that there were a few common hot cocoa recipe theories.
In truth, the latter version doesn’t work well in a hot cocoa bar setting. You would need to make a large batch ahead of time and consequently keep it hot in a slow cooker. It doesn’t allow for variety in flavor, and then you have to worry about the leftovers and cleanup. As much as I love the idea of chocolate as leftovers, I’m not sure sitting down to a slow cooker half full of day-old hot cocoa is what I had in mind. Then there’s the possibility that you don’t make enough, and someone goes without hot cocoa. Oh the horror!!! Not on my watch.
So, how can I combine the richness of Chef Torres' hot cocoa with the ease of preparation of a powdered mix? Then a light bulb went off in my head, as it often does when I’m working with food. Why not combine the two concepts and create a cute, edible craft at the same time?
The Best of Both Worlds
What I love about Jacque Torres' version is how thick and rich it is. It’s similar to our chocolate ganache version from a few years ago. I used a powdered mix and added chocolate truffles, which are basically chocolate ganache covered in chocolate, to hot water or milk. It turned out both rich and delish, just what you want from hot cocoa.
At the same time, how easy is it to add flavoring like peppermint, caramel, or spices to the mix, allowing for special blends that party goers could try without too much hassle? After all, hot cocoa is a little like chili: everyone has their own preference. Some like it rich and thick, some with milk, while others prefer water. I like mine Mexican style with a little chili powder and cinnamon, but you may like it with peppermint or even schnapps. That’s what makes an unquestionably great hot cocoa party. Everyone should have options.
I discovered that you can add spices or caramel pudding powder to the cocoa mix, but peppermint powder gets hard and clumpy as soon as you crush it. Plus, you have to make batches of each version and put them in bowls to give people options, right? Not necessarily.
Cuppa Yum
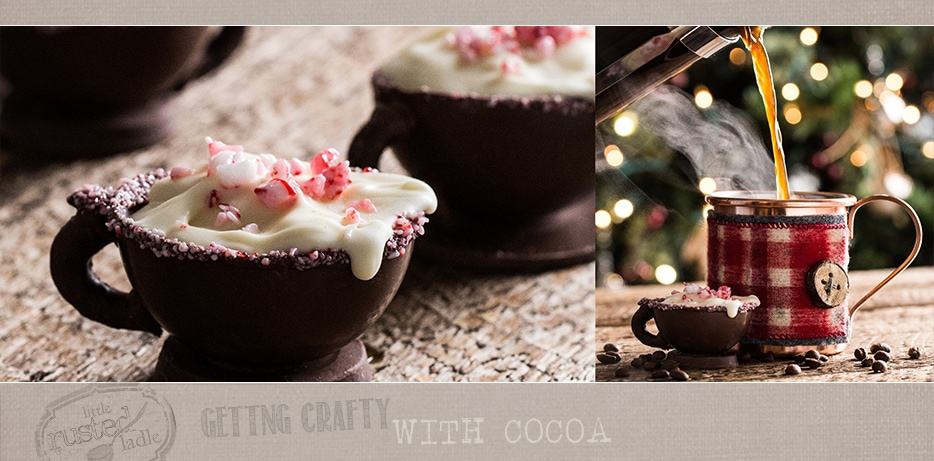
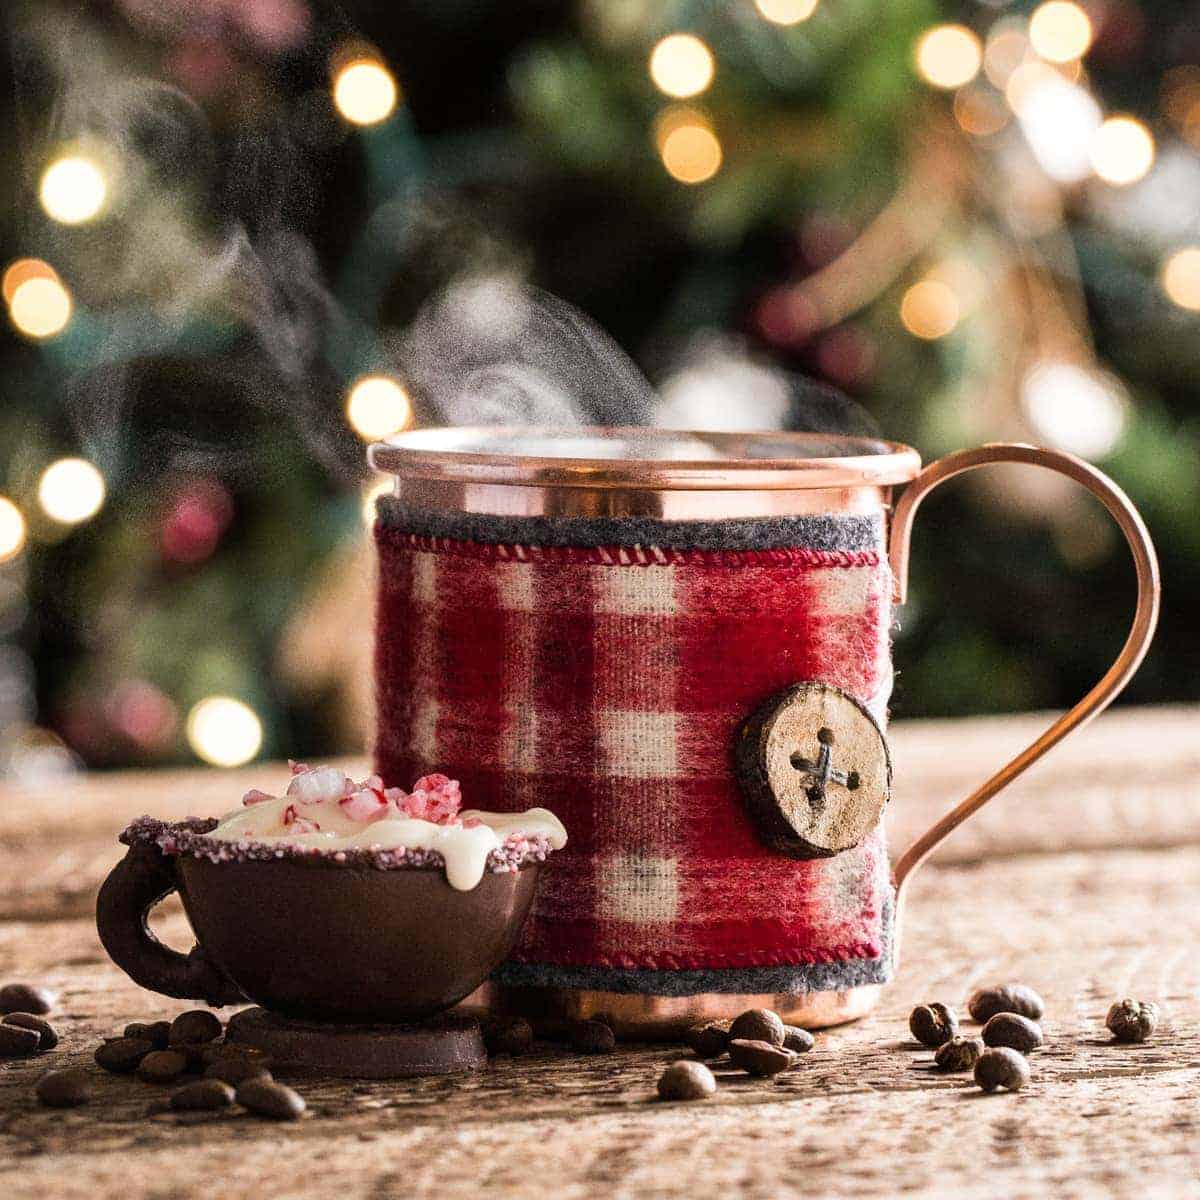
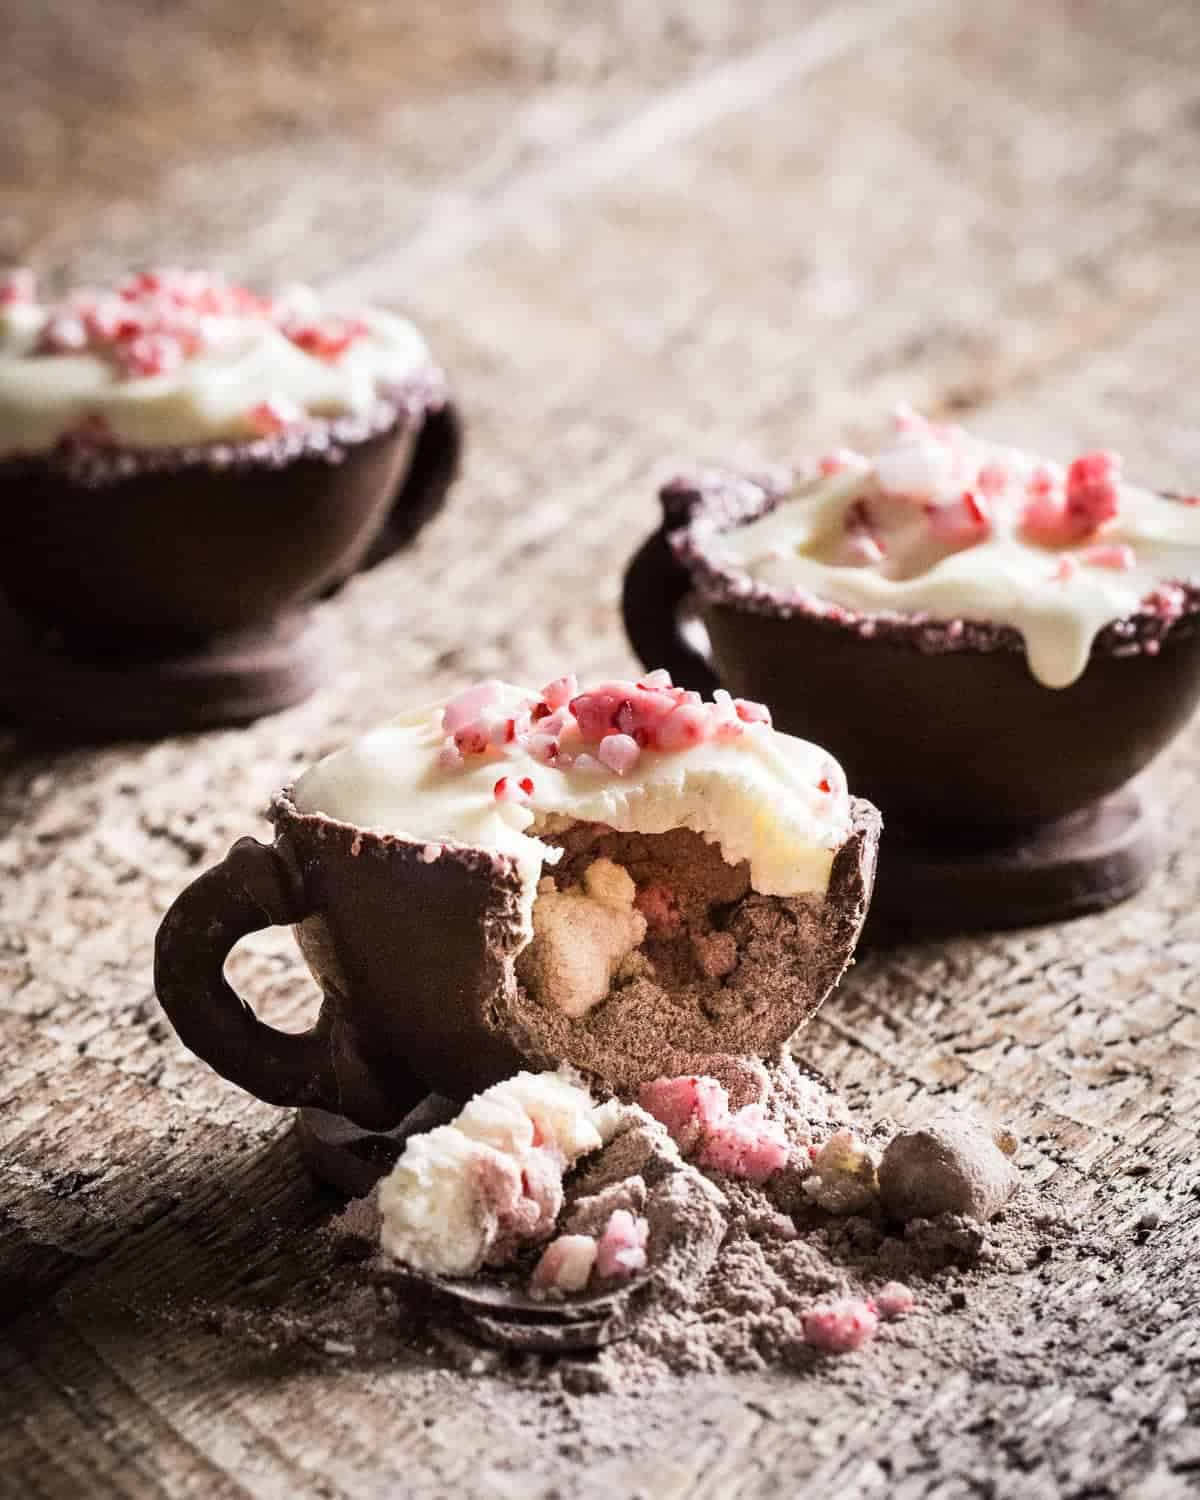
What if I created my own chocolate cup, filled it with a powdered hot cocoa mix, crushed peppermint candies and mini marshmallows, then sealed the top with melted white chocolate? After that, as a cute finishing touch, make a chocolate saucer and a chocolate covered pretzel handle to make this little cup look like a mug topped with whipped cream. Now we’re talking! Finally, add some crushed peppermint candies on top to look like a garnish and let people know what flavor the cup is. Yup, we thought of everything this time.
The end result produces a cute mini cup, filled with just the right amount of hot cocoa mix and flavorings. Simply drop it in a mug and then fill it with water, milk, or even coffee. Stir it until it all melts in and BAM, perfect hot cocoa! For different flavors, add a teaspoon of caramel pudding mix or syrup, a pinch of chili powder and cinnamon, or even some hazelnut spread to the cup before you seal it up.
Crafty Cocoa
I know, I know, it sounds like a lot of work, and well, it is. Making the cups is certainly the tough part. I could write another article on how to make these. Instead, I will lead you to a site I found that specializes in cute food called hungry happenings.com. You’ll spend hours looking at the ideas they have there. Check out their Easter Chicks tutorial for tips on making the cups with ornament molds.
You will amaze your friends and family if you pull these out at your next get-together. They may hate you for being so creative, but it will make a statement. “I am a food crafter, hear me roar.”
Enjoy! Next time we’ll discuss those fluffy things you put in your cocoa. Homemade marshmallows! A lot easier than these cups, and sooooo worth the effort. Yum! Don’t forget to cook with love and live to cook.
Jim & Jena
Peppermint Mocha Cocoa Cups Recipe
Ingredients
- 1 cup Dry milk powder
- 3/4 cup Powdered sugar
- 1/2 cup Unsweetened cocoa powder preferably without alkaline
- 1/2 tsp. Fine sea salt
- 12 ounces Bittersweet chocolate chopped
- 4 ounces White chocolate chopped
- 8 Peppermint candies crushed
- 32-40 Mini marshmallows (try homemade)
- 8 Round plastic ornament halves for decorating found in craft supply stores
- 8 4 oz. Dixie cups
- 8 Chocolate-covered pretzels
Instructions
Hot Cocoa Mix
- Combine milk powder and next 3 ingredients in a medium size bowl with a whisk. Set aside.
Chocolate Cups
- Melt 9 ounces of the bittersweet chocolate over a double boiler until almost completely melted, stirring continually. Remove melted chocolate from heat and add remaining chopped chocolate. stir in until chocolate is smooth. Set aside while getting plastic ornaments ready.
- Place plastic ornament halves on a sheet pan.
- One at a time, fill each ornament mold 1/2 full of melted chocolate. Turn the molds sideways, letting chocolate coat entire inside. Turn upside down and let remaining chocolate drip into the bowl of melted chocolate. Place plastic molds on a foil-lined sheet pan. Repeat with remaining ornament halves.
- Pour a small amount of remaining melted chocolate in the bottom of each dixie cup.
- Refrigerate all pieces for about 15 minutes.
- Carefully remove chocolate cups from plastic molds and set aside, being careful not to handle too much.
- Remove chocolate disks from the dixie cups by peeling away the paper. Place on sheet pan. refrigerate cups and saucers until ready to assemble.
- Cut 8 chocolate-covered pretzels with a small serrated knife. Each piece should look like a handle.
- Melt white chocolate in a double boiler over low heat until melted, stirring continually. Remove from heat and set aside.
Cup Assembly
- Place a small amount of the remaining melted chocolate in the center of each chocolate saucer. Moving quickly, place chocolate cup open-side-up on top of the saucer, letting the melted chocolate act as glue to fasten them together.
- Repeat process with remaining cups and saucers.
- Dip a chocolate pretzel handle into melted chocolate, then press into the side of a cup for a few seconds until chocolate firms up.
- Repeat process with remaining handles and cups.
- Spoon 3 tablespoons of cocoa mix into each cup.
- Top each filled cup with 4-5 mini marshmallows and some crushed peppermint candies.
- Spoon melted white chocolate over filling, covering filling completely.
- Sprinkle with more peppermint dust.
- Transfer all cups to a covered container and store in a cool place until ready to serve.
Serving
- Place one cocoa-filled cup in a large mug. Pour 8-10 ounces of scalding milk, hot water, or coffee into the mug. Stir until chocolate cup has melted and cocoa powder it blended into liquid. Top as desired and serve.
Notes
Mexican Cocoa - Add a pinch each of cayenne pepper and ground cinnamon
Hazelnut - Add 1 tsp. chocolate hazelnut spread
Peanut Butter - Add 1 tsp. creamy peanut butter
Adult Versions - Replace 1 Tbsp. of dry mix with 1 Tbsp. liquor of choice

Wow Thanks for this site i find it hard to see exceptional knowledge out there when it comes to this material appreciate for the article site
What amazing creativity and beautiful images.
Wow! Now these hot chocolate cups look amazing! What a great idea this is and I don’t mind it being time-consuming because they look perfect! Thanks for the inspiration!
Thanks Julia, send us photos of your creations. We love to see creativity at work.