These 3 herb crafts are simple, thoughtful, and can be made right at home! I love working with herbs in my photography, and the stunning results of these rustic crafts are exactly why!
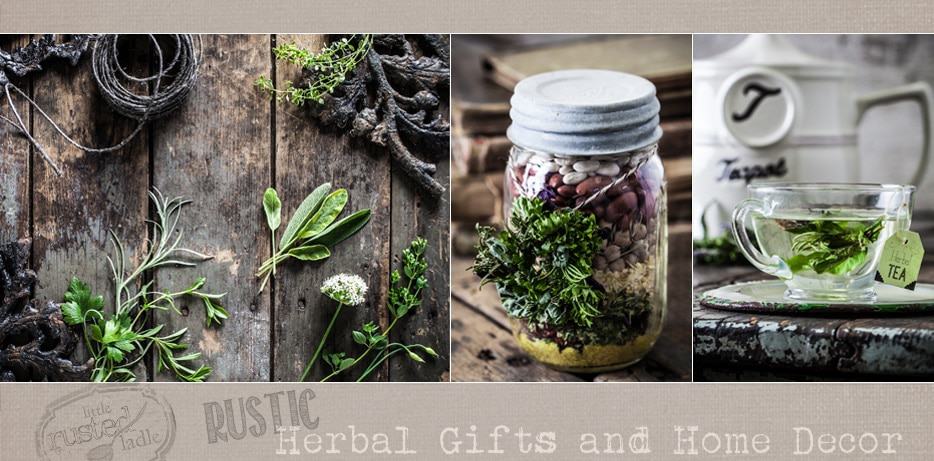
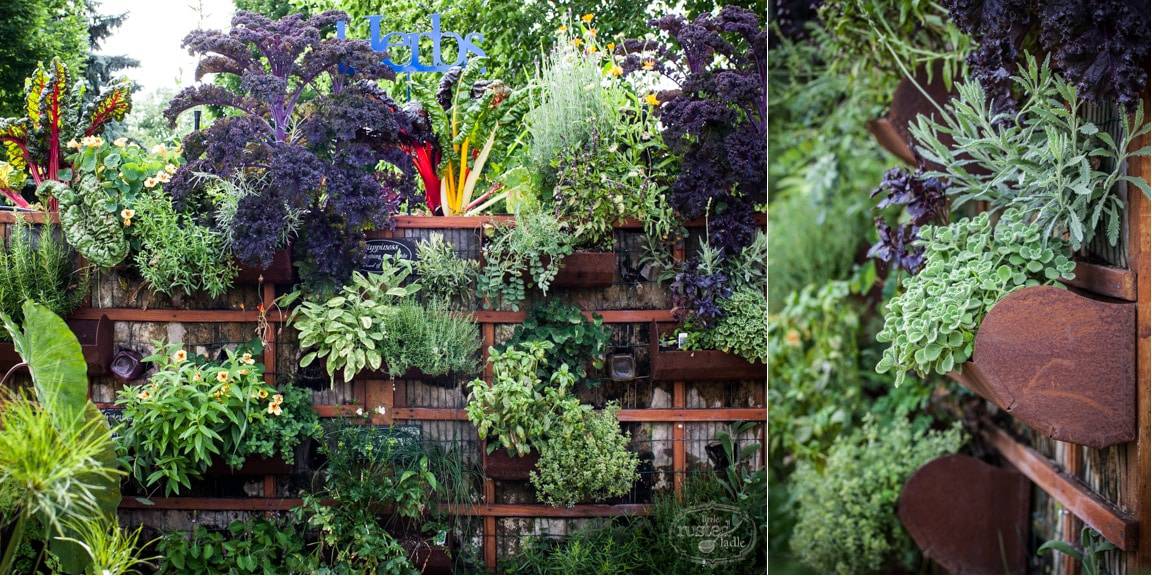
Growing up, my mom and I were into all sorts of crafts. For a while, one of our favorites was dried flower wreaths which inspired this blog post on dried herb crafts. Jim Rude has an amazing herb wall where we gathered the herbs and started planning our creations: a home décor wreath, a dried soup gift, and tea swags.
Dried Herb Wreath
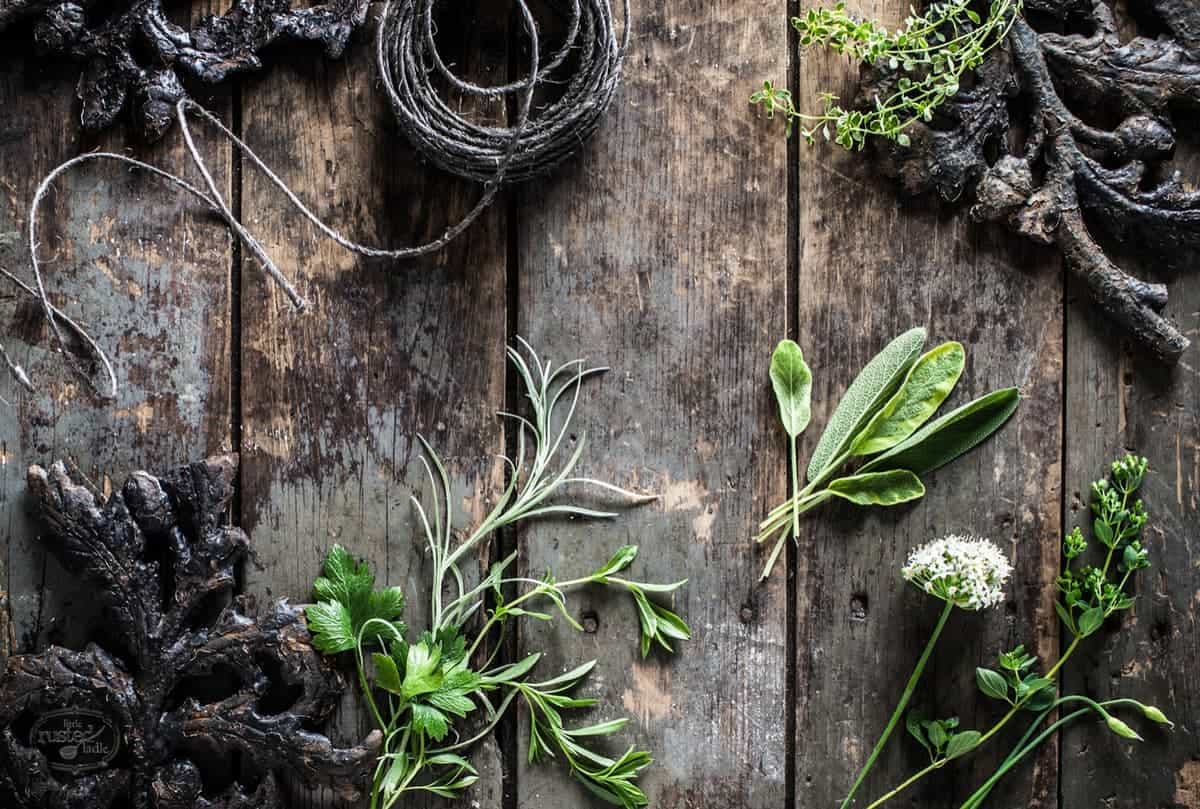
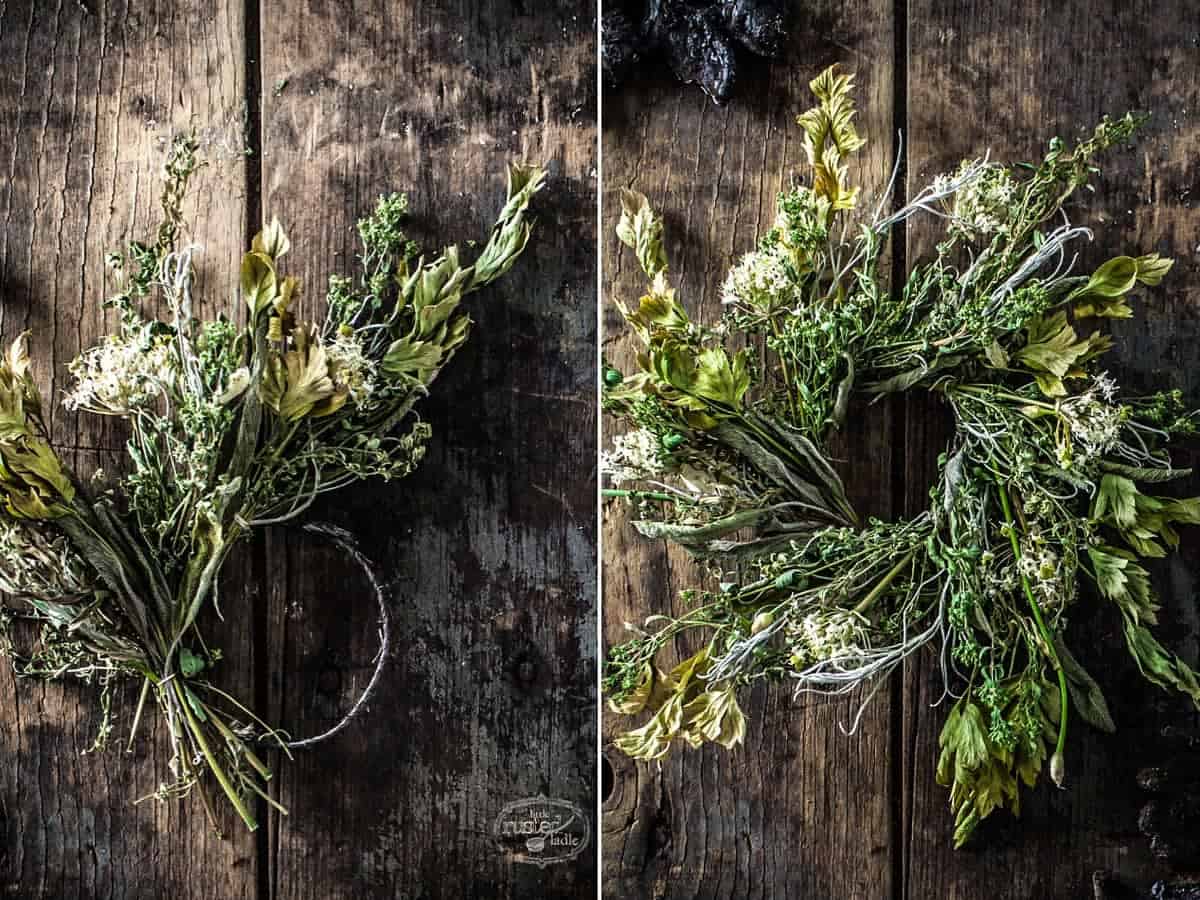
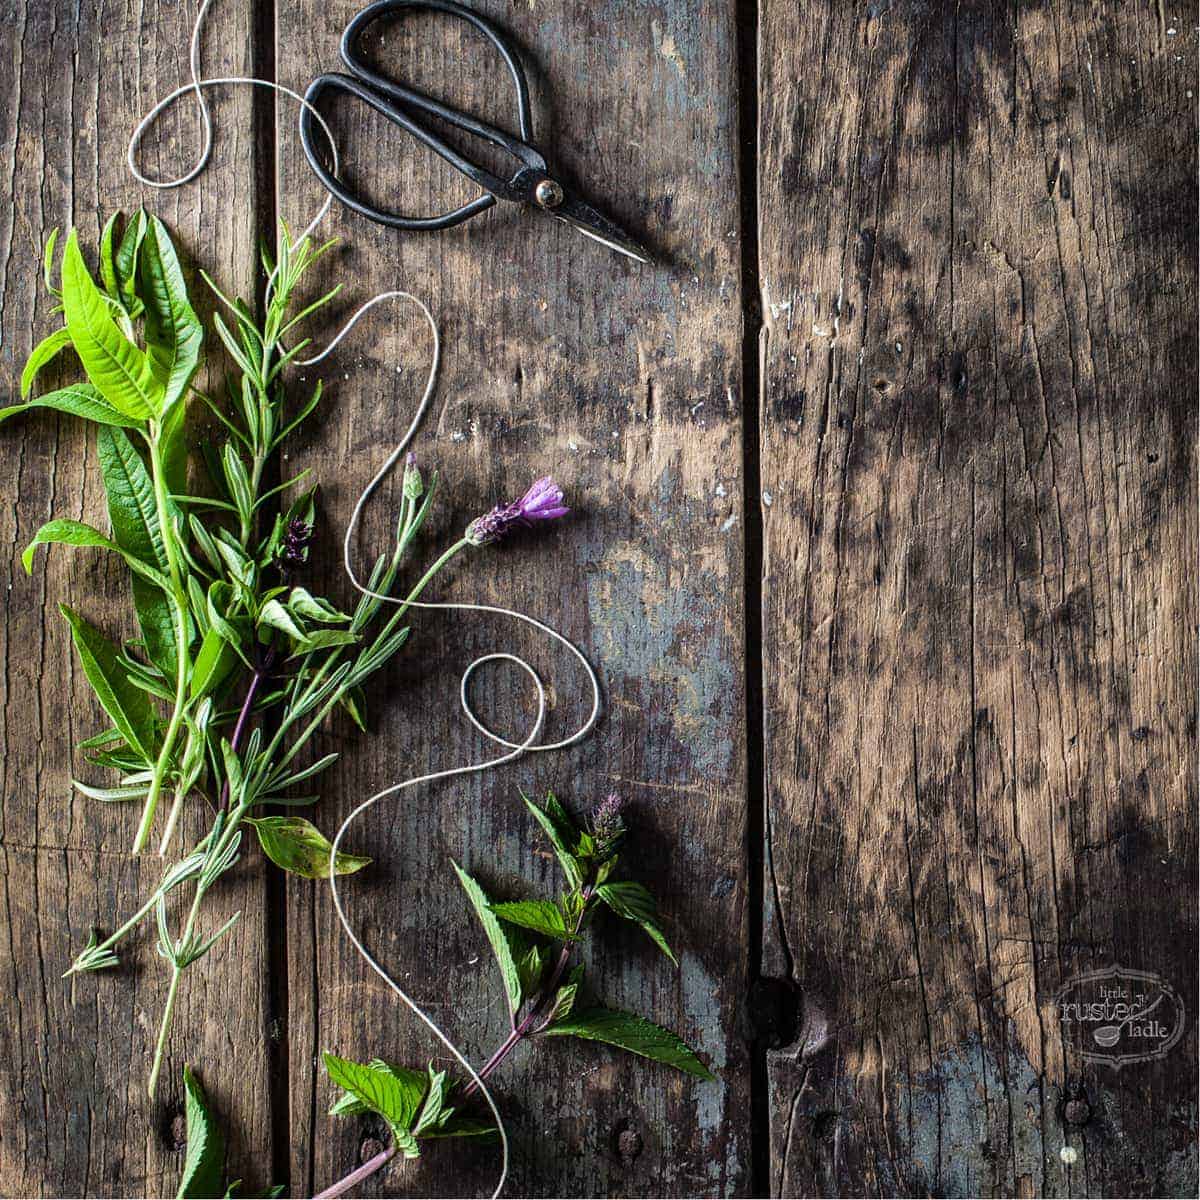
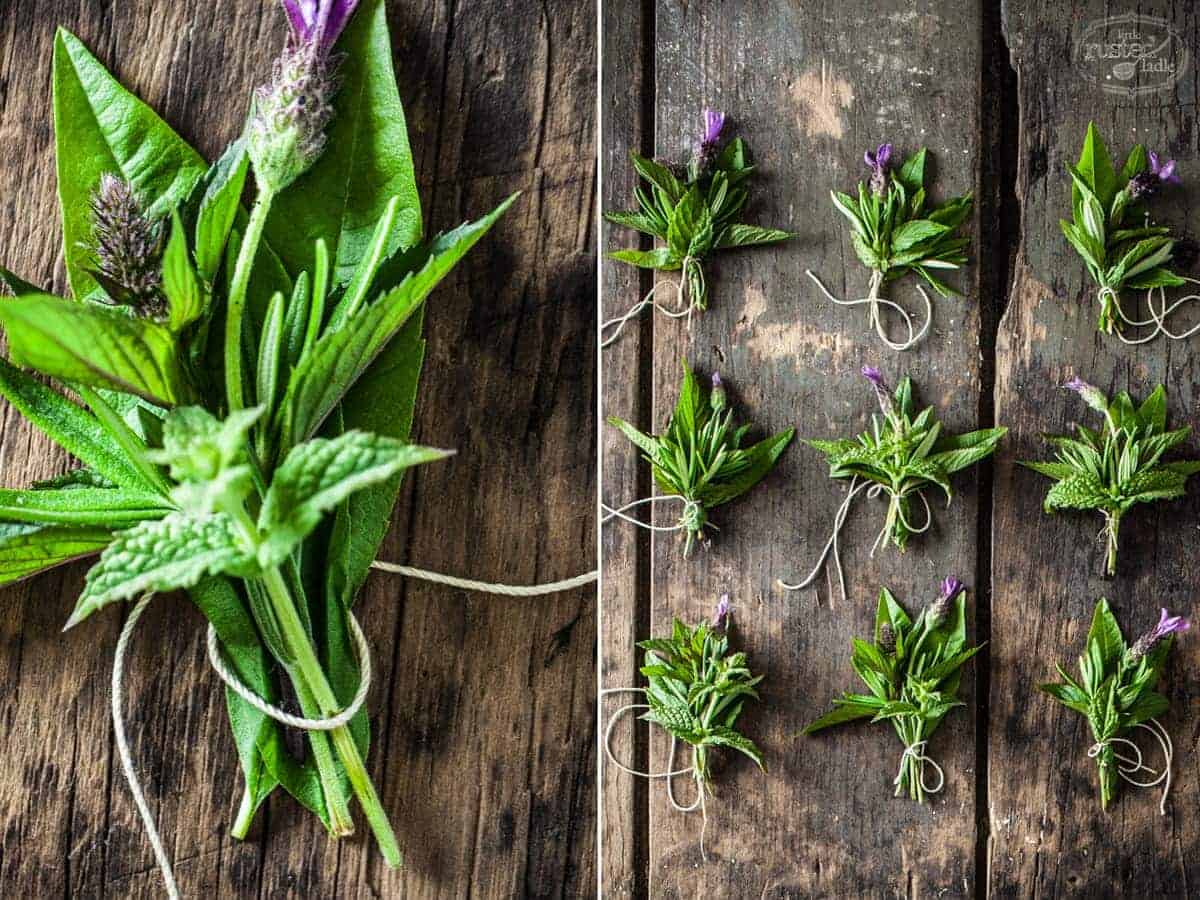
The first step in creating a wreath of dried herbs is to make several herb bouquets. Wound together, the bouquets easily create a neat, professional-looking wreath. For this wreath I made six bouquets, but you can add more for a fuller look.

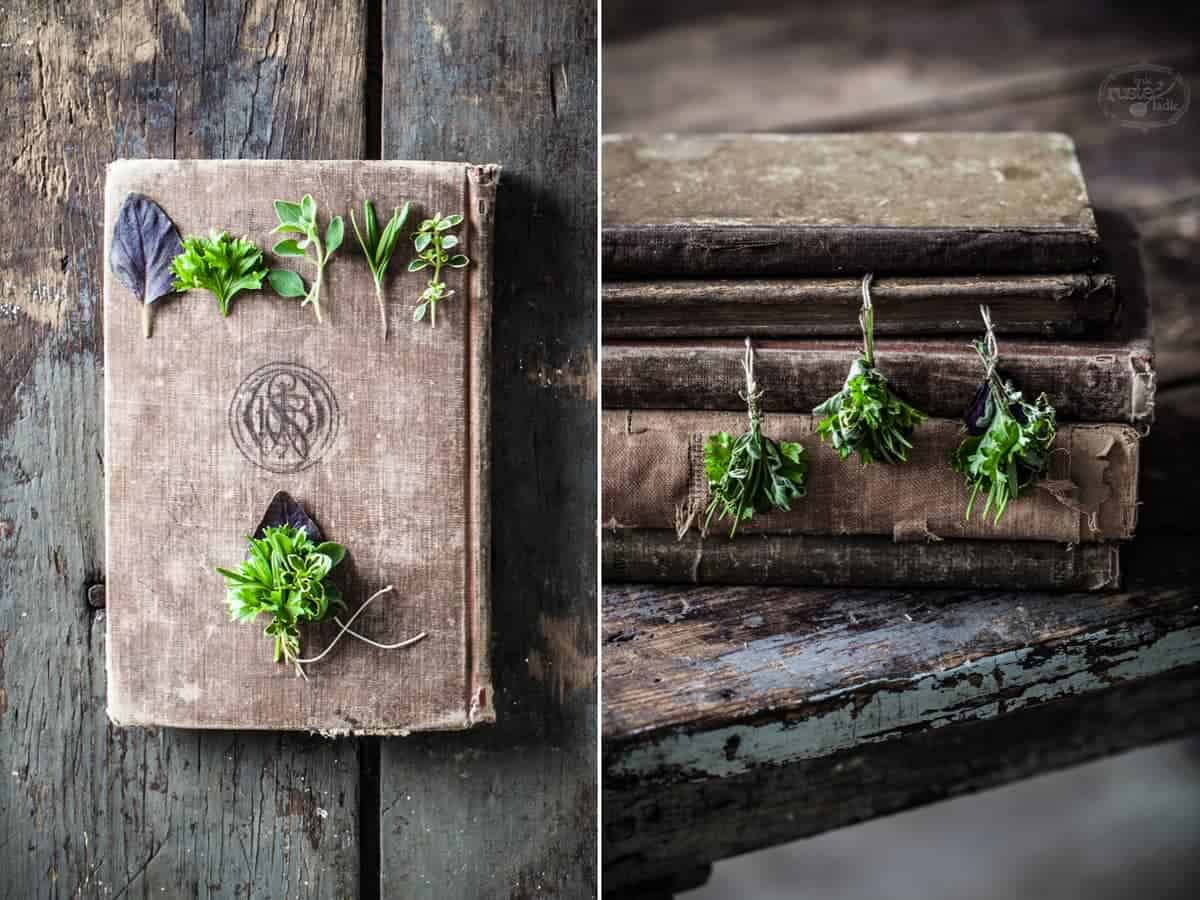
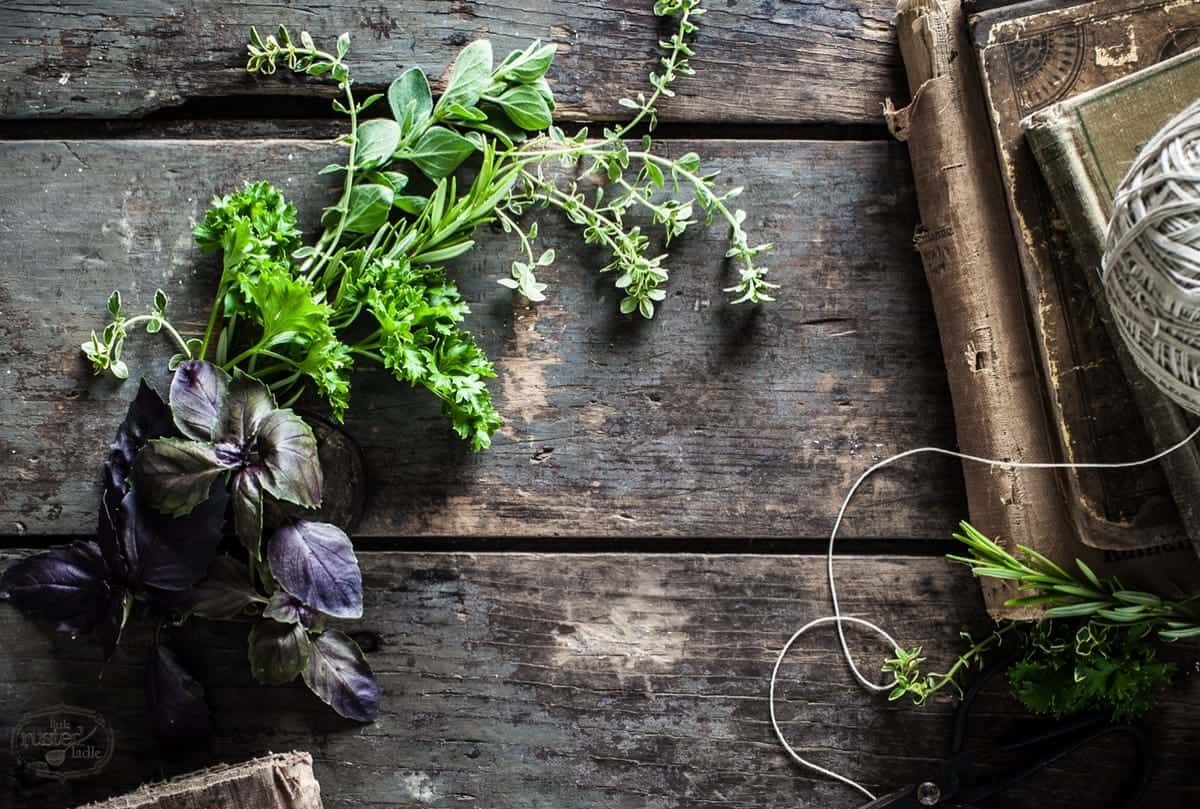
Start by gathering all of your herbs and cut one 10″ string for each planned bouquet. Take about two strands of each herb and layer them from largest to smallest, back to front, to make each bouquet. Tie the herbs together at the stems and hang upside down to dry. Continue until you have the desired amount of bouquets for your wreath. Let the bouquets dry for two weeks.
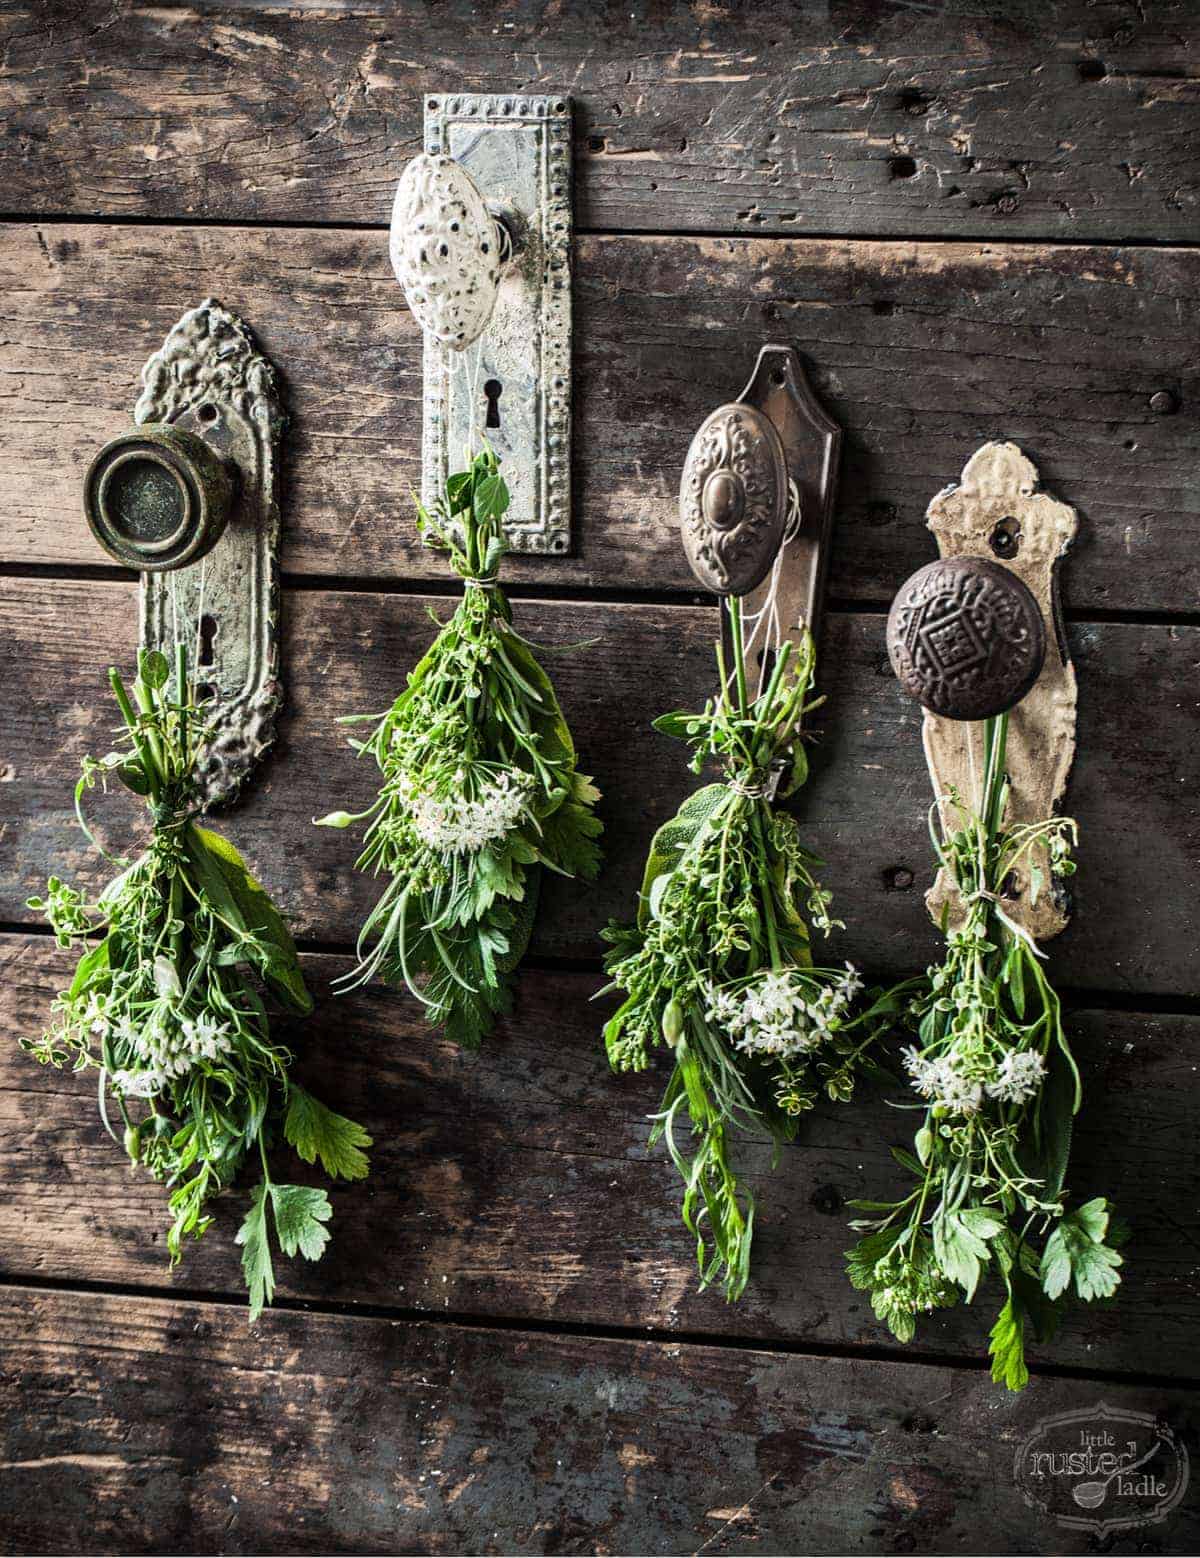
Make a circle out of 12 to 16 gauge wire. I used wired jute from Jo-Ann Fabrics, but you could use copper, steel, or anything else you have lying around. Use a thin wire, like floral wire, to attach the bouquets to the circle. Keep overlapping the bouquets until the entire circle is covered, adjusting as desired as you finish the wreath.
Dried Soup Herb Craft
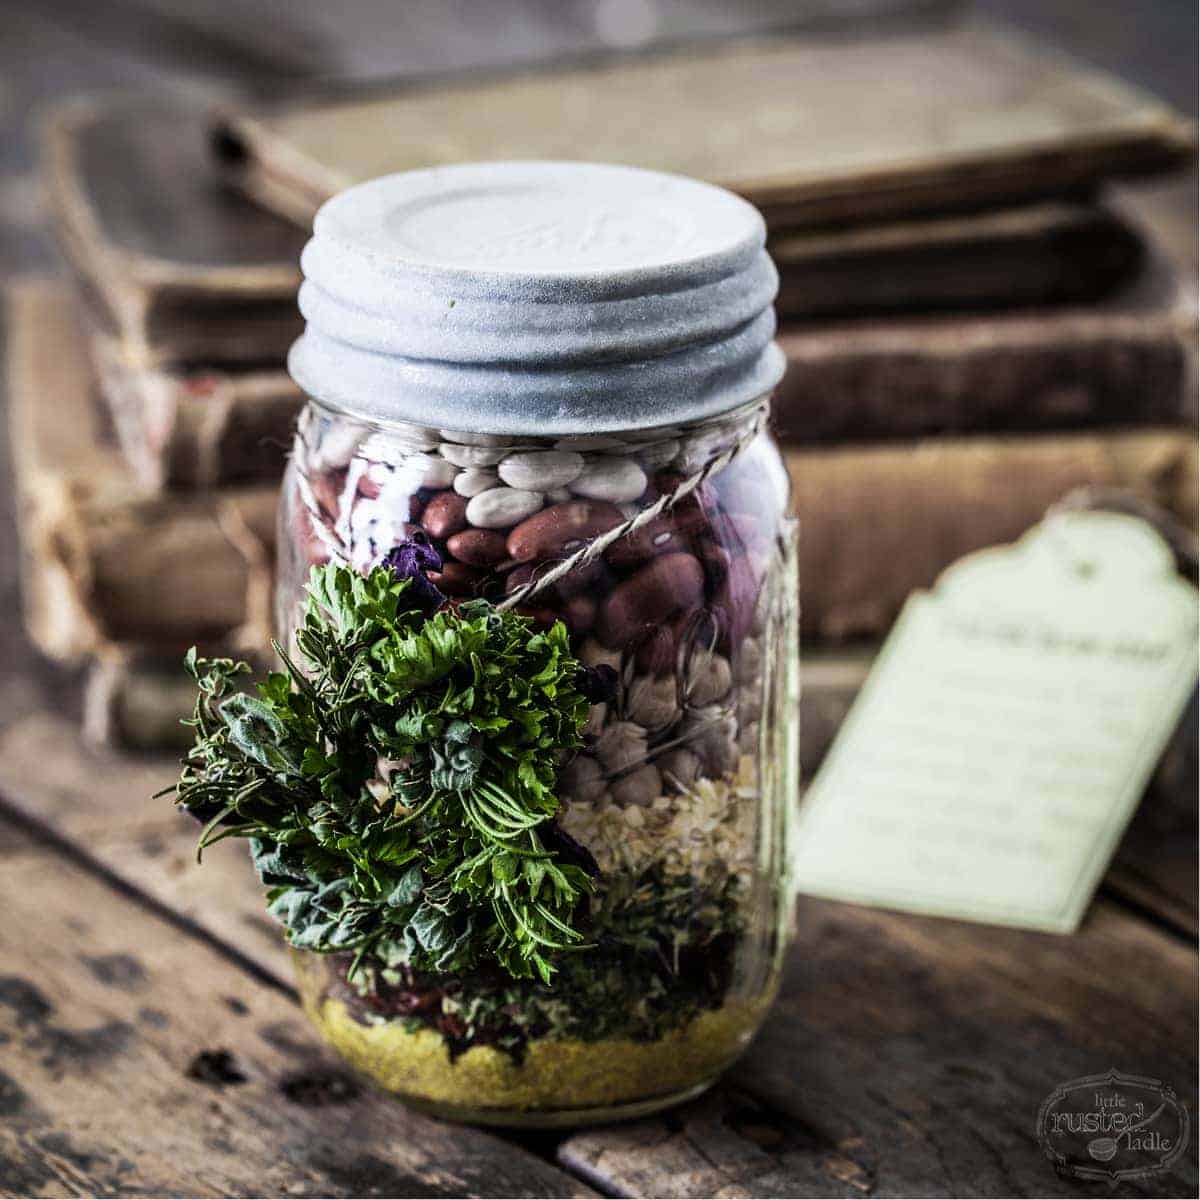
Next, for our dried soup gift we made a mini herbal wreath to tie to the front of the jar. The mini wreath is meant to be used in the soup itself. For this mini wreath we used six tiny bouquets that included basil, parsley, oregano, rosemary and thyme. Follow the same instructions above but only using one piece of each herb. The jute wire circle should be about the size of a quarter.
Click here for free printable tags for the dried soup gift.
Herbal Tea Swags
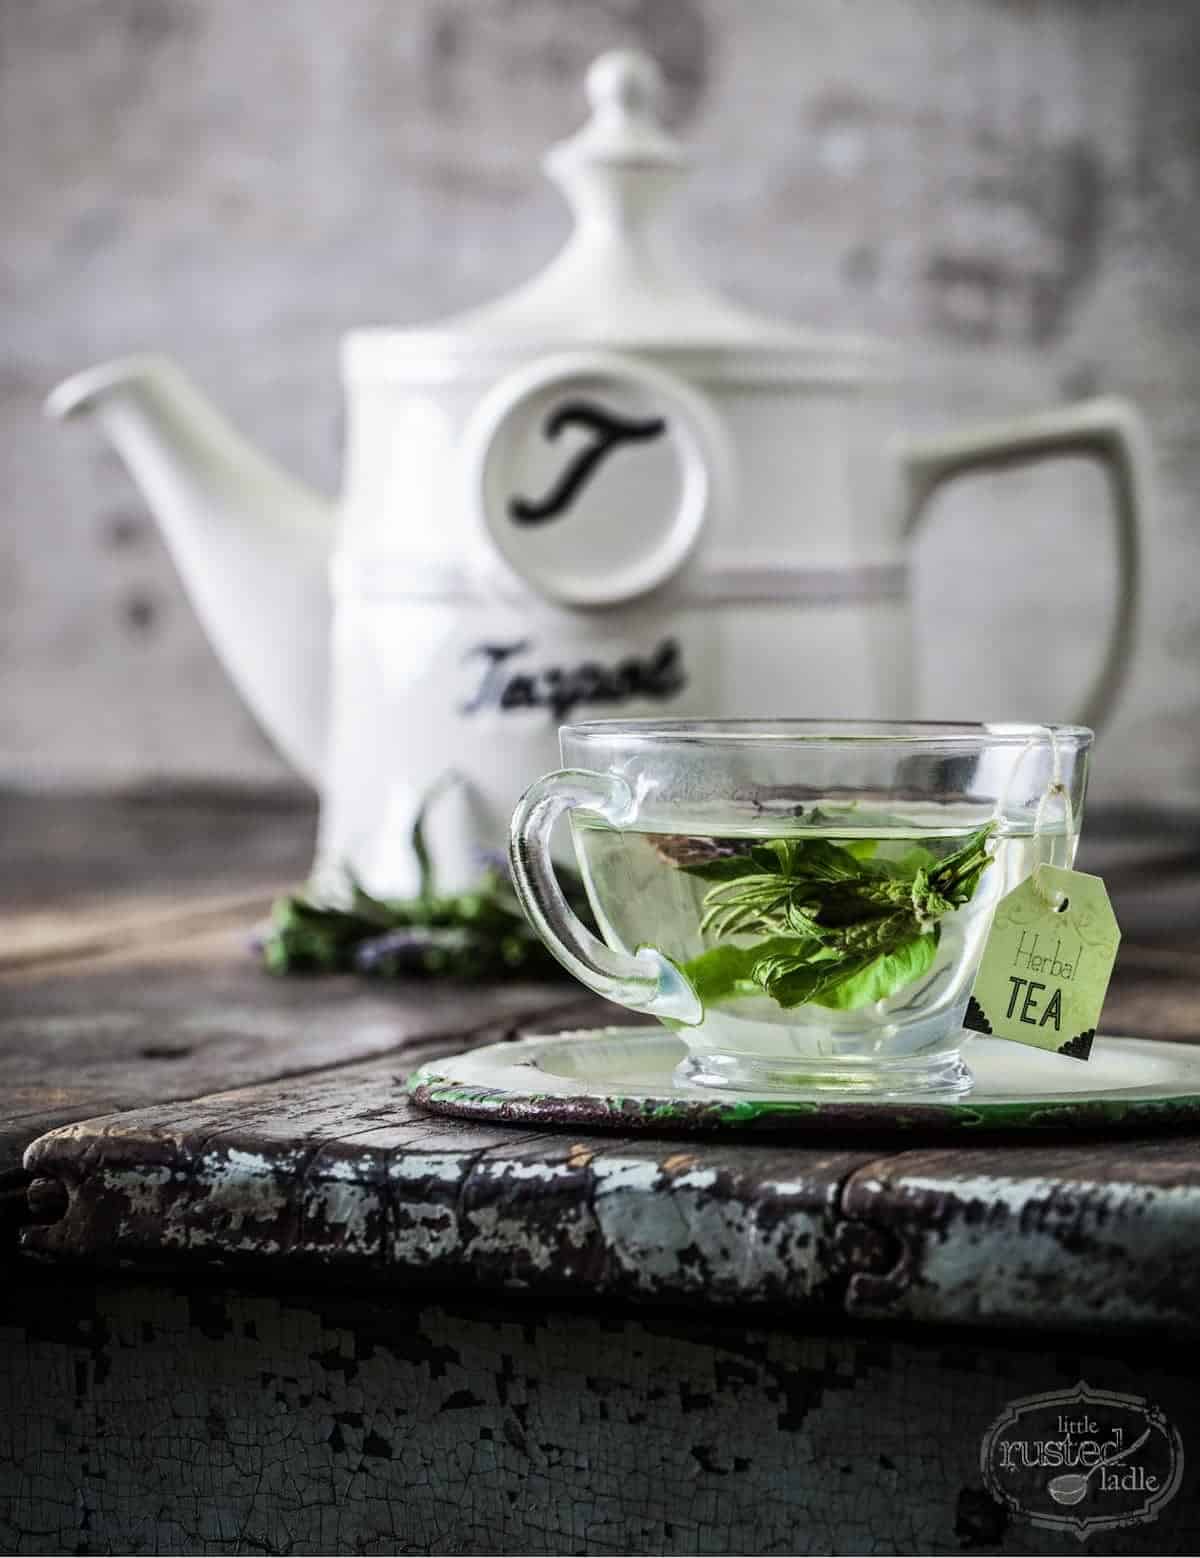
Lastly, our herbal tea swags are a mix of lemon verbena, lavender, mint and rosemary. Bundle and tie 1-2 pieces of each together. Tie the tags to the tea swags. Hang them upside down to dry for two weeks or use fresh. Add to hot water, steep for 3-5 minutes,and enjoy!
Click here for free printable tags for the herbal tea swags.
Show me the results! I'd love to see your herb crafts on Instagram. Tag littlerustedladle!
If you love herbs as much as I do, make sure you go check out my book Herbs for Flavor, Health, and Natural Beauty.
Don’t wait until a special occasion, create one!
-Jena


Ce site web est un magasin en ligne spécialisé dans les maillots de football, surtout ceux de la sélection nationale du Portugal. Il propose une grande gamme de maillots, y compris les dernières versions pour l’Euro et le Mondial, avec des possibilités de personnalisation comme le nom, le numéro et les patches. Les prix sont attractifs, comme les maillots replica 2025-2026 à compter de 20,92 €. Outre des maillots, on découvre aussi des chandails et des produits liés à d’autres équipes et nations, comme l’Espagne ou la Liga. Les paiements sont sécurisés avec des solutions comme Visa et PayPal. Pour les passionnés de football, c’est l’lieu idéal pour trouver des maillots de bonne qualité à des prix accessibles.