Making Memories with Cake
There is something truly special about planning your child's 1st birthday party. It's a time when all those images you've thought about for years as a girl playing with dolls, having tea parties, and playing house is now realized. Now you can harness that energy into making your little boy's 1st birthday party and birthday cake something to remember. Maybe not for him. After all, he probably won't remember any of it. But as a mother, it doesn't matter. Creating special moments in time and making your kids happy at that moment is what is important. Letting them know how special they are and how much you love them.
I know, I know, it was a year ago and Austin is now two! But reflecting back on that day still puts a smile on my face. Not everything went as planned. However, it was still a special day. Now that he is already two, I reflect back on that day and the wonderful smash cake I made for him. His cake was so good last year I may just do it again! Buried the lead here… You can see all of the darling images, games, and crafts from Austin's first birthday party on Martha Stewart!
Cake That's Naturally Sweet
Though it looks complicated, making this cake was pretty easy! Jim and I did an article in 2015 called “Wildberry Poundcake with Mascarpone Yogurt Creme”. That cake was a buttery pound cake colored with three different colors of batter and made in tin cans. It was so good, that I thought it would be a great base for Austin's cake. After all, the ingredients are similar to the “natural” cake mixes you can get in the store nowadays, so why not really know what's in the cake and make it myself?
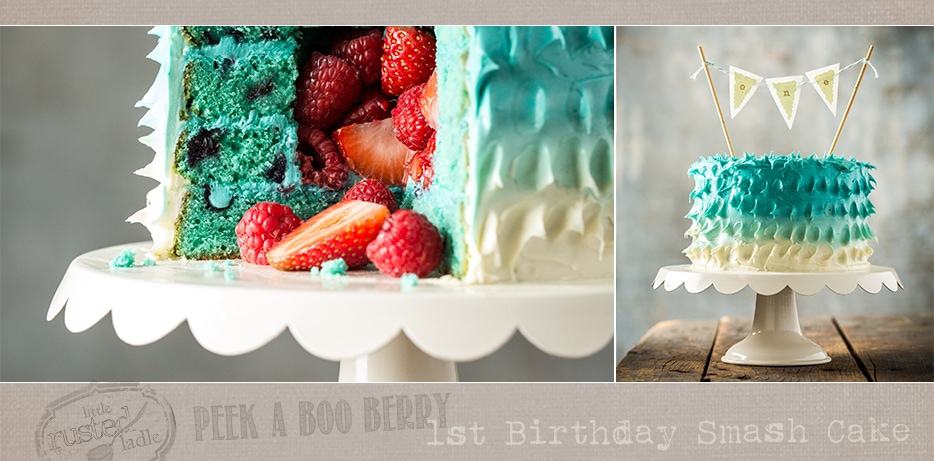
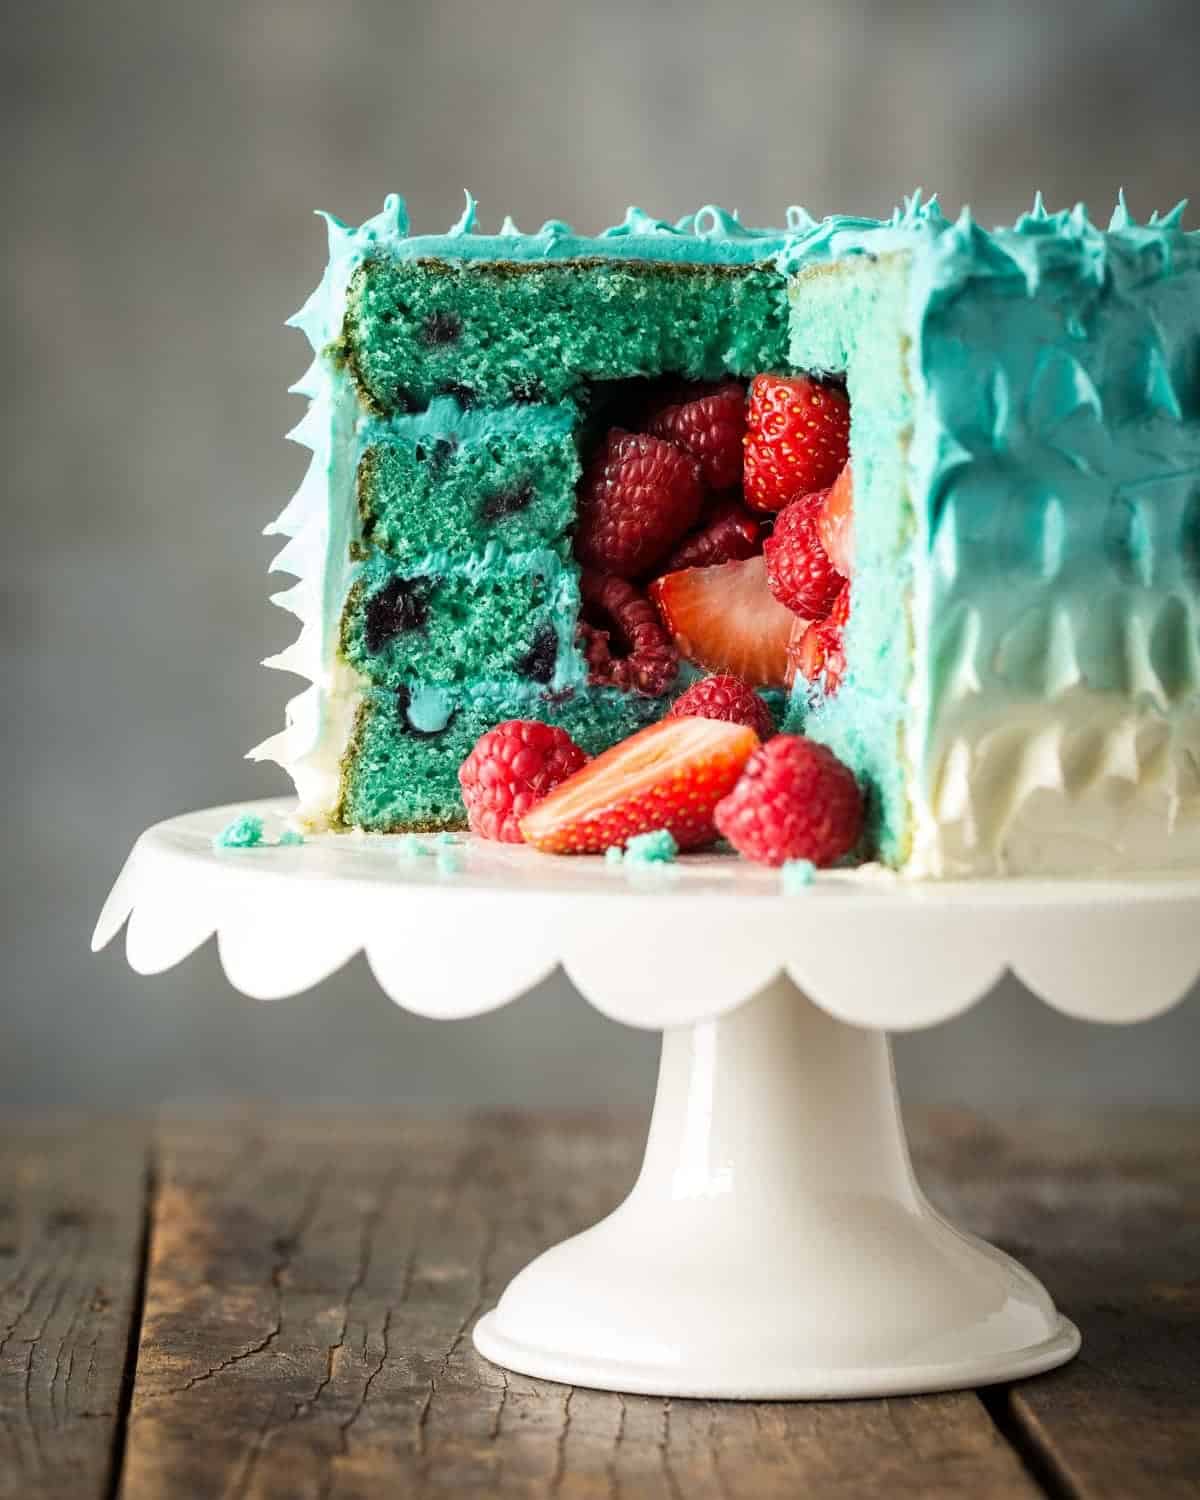
Instead of making it 3 colors, I decided on just using blue. I used 6″ cake pans instead of the tin cans, because I wanted to give Austin a special surprise when he dove head first into the middle of it.
Blue pound cake may not be “healthy”, but an all-natural cake filled with fresh berries is definitely an improvement from a boxed mix with canned frosting. Adding fresh blueberries to the cake mix also added some nutrition as well as some great color to the cake. So how did I get the fruit in the middle?
Peek-a-Boo!
Thanks to the creative genius of Amanda Rettke, a friend of ours and fellow food blogger, it was really easy. If you like cake, her blog “I Am Baker” is for you.
To get the cavity in the center of the cake, all you need to do is cut a circle out of two of the four layers of cake. I used the top of one of Austin's sippy cups for the template. Why not, it was the perfect size and it was right there with the the half-dozen other sippy cups and kids spoons that I see every day. Simply place a round template about an inch or two smaller than your cake diameter in the center of your two middle layers and cut around it with small, thin knife. Remove the center and save it for later when everyone goes to bed and you need some me time with a bowl of ice-cream. (Trust me, you'll thank me later.)
To assemble the cake, place one layer on a serving plate, top with a layer of frosting, then place a layer of cake with a hole cut out on top. Top that layer with frosting, then add the other layer of cake with the hole in it. After frosting that layer, add fresh fruit into the cavity. Top with the remaining whole layer and frost the entire cake.
Finish with Frosting
I used a sugar free frosting recipe I found online at An American Housewife Barbie. It uses Xylitol, which is a plant-based sweetener, instead of sugar because I wanted a healthier option that would hold up better on the sides.
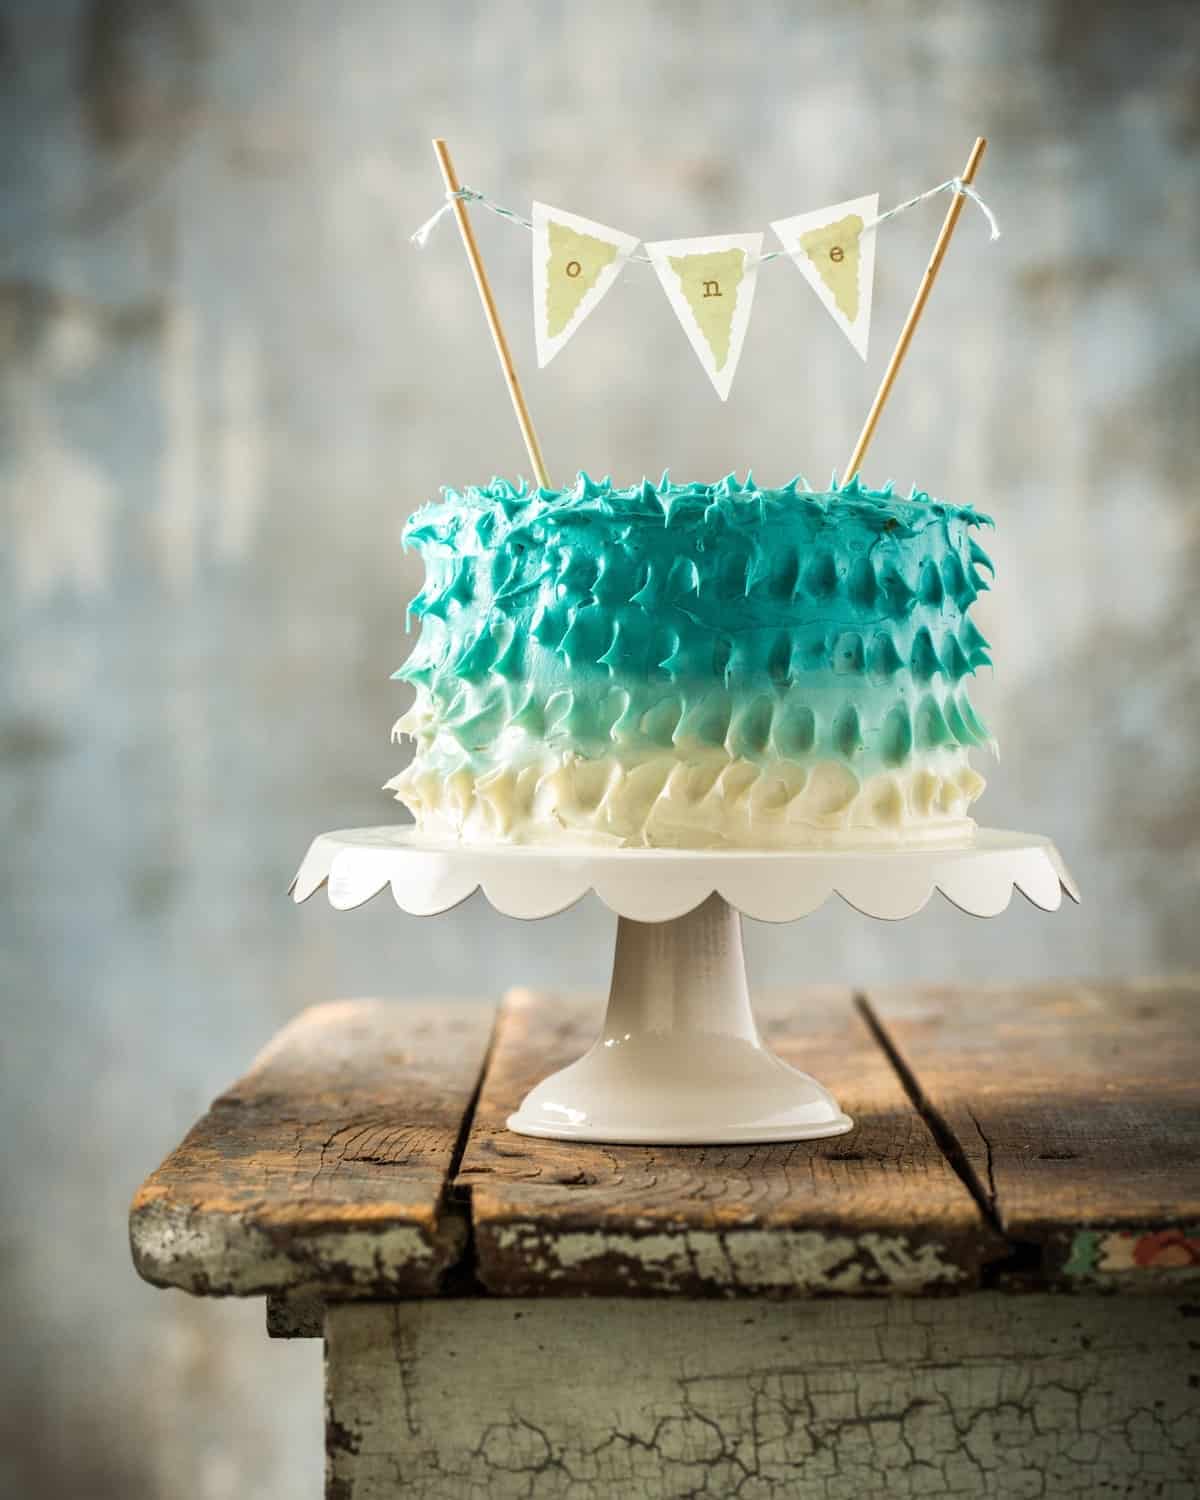
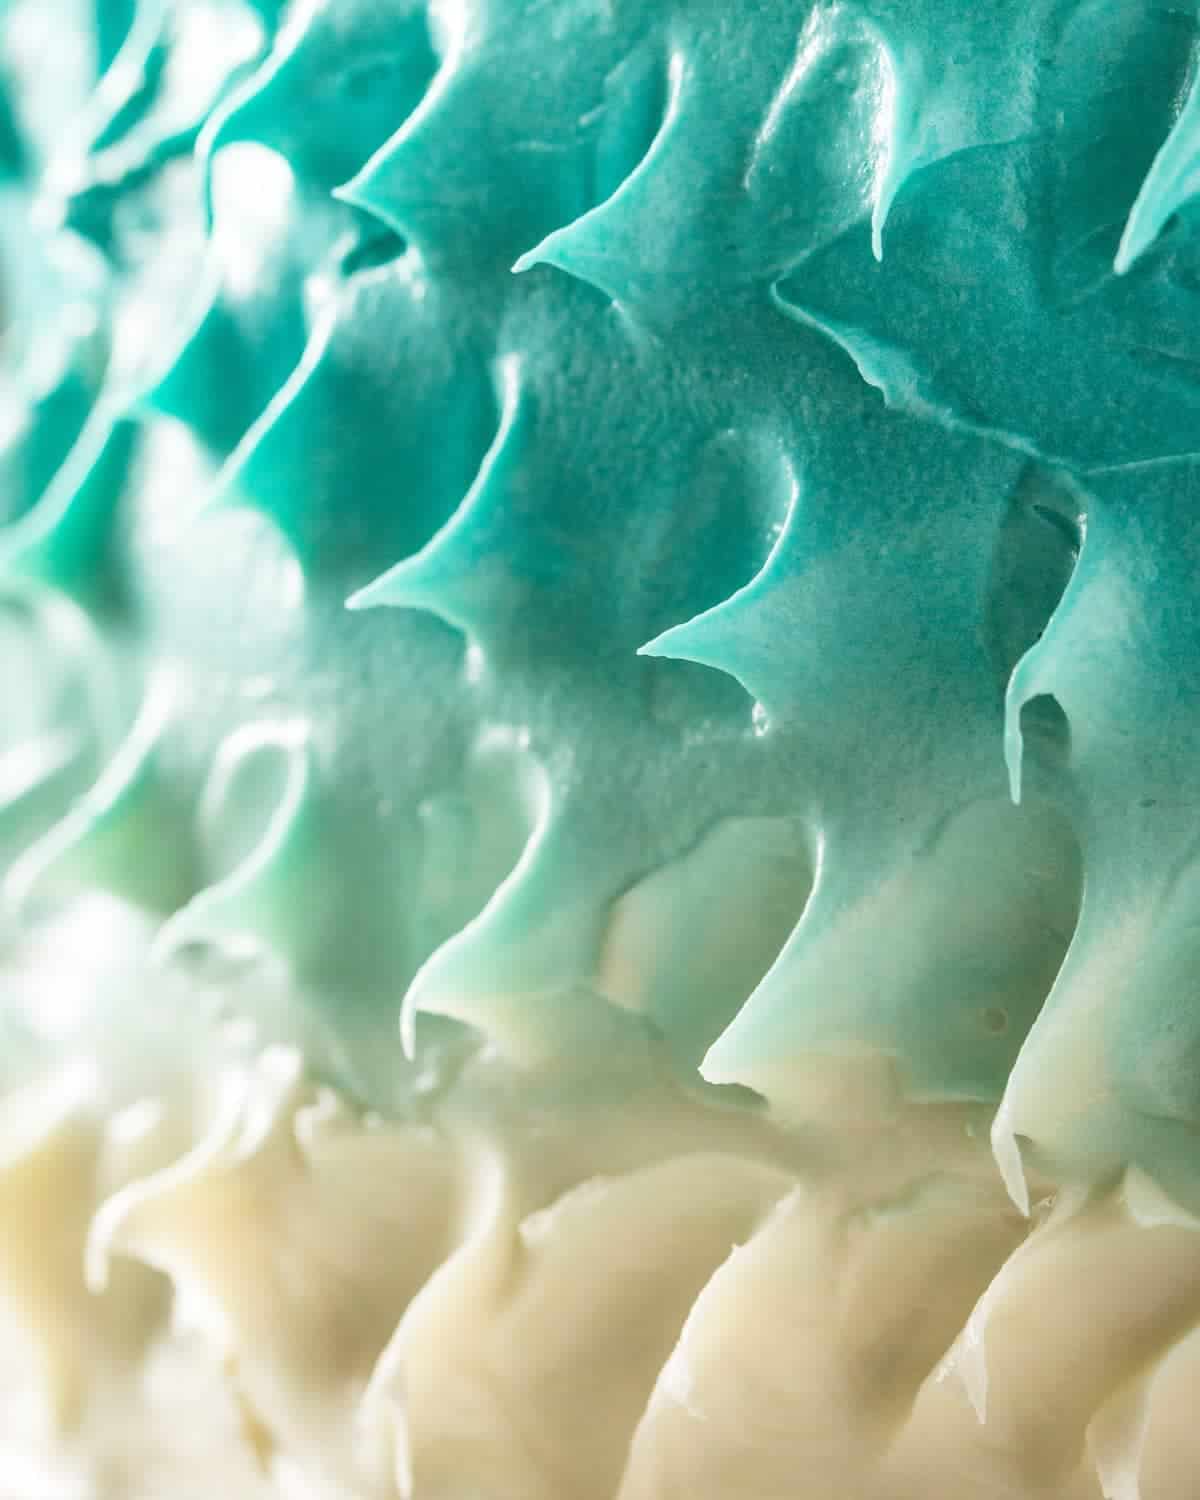
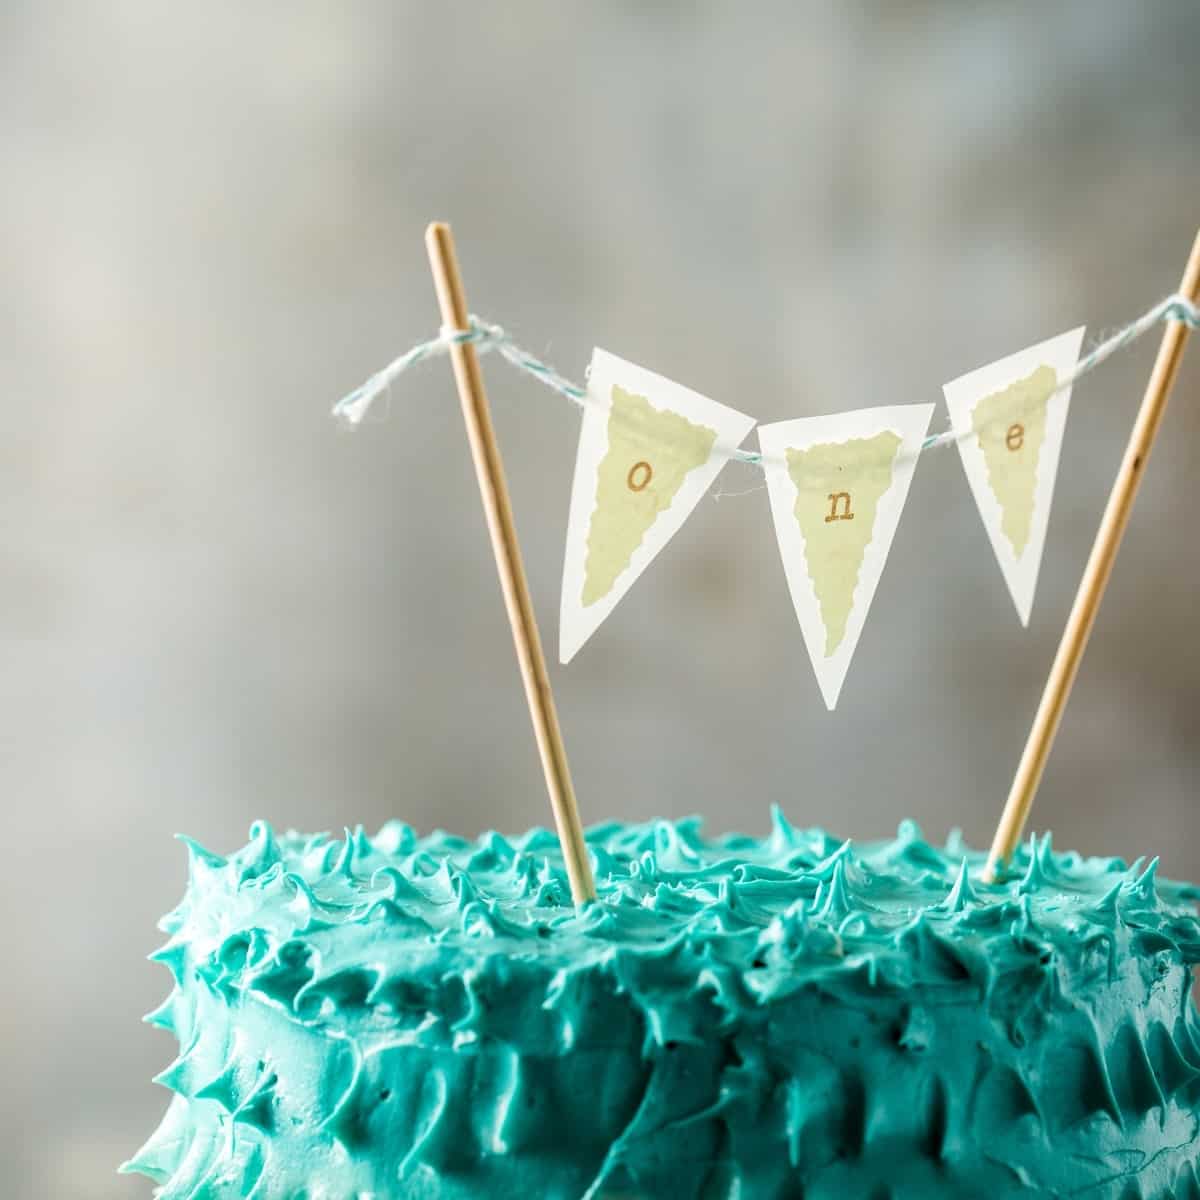
To give the frosting that multi-colored look, I made three different shades of frosting, then frosted the cake from bottom to top starting with the lightest color. The colors blend when you run a spatula around the whole cake when you are done. Simply pressing a spoon into the frosting creates those little peaks that gave it texture. Of course, a 1st birthday wouldn't be complete without a 1st birthday cake topper!
In the end, Austin got to dive into a delicious, homemade cake that was filled with fresh fruit and the love that went into making it. I can't believe it was a year ago. I guess it's time for another cake. Don't wait for a special occasion, create on!
Jena & Jim
Peek-a-Boo Berry Smash Cake | First Birthday Party
Ingredients
- 1 cup of butter 2 sticks, softened
- 1 1/4 cups granulated sugar
- 1/2 tsp salt
- 2 tsp pure vanilla extract
- 1 tsp baking powder
- 5 ounces unbleached all-purpose flour
- 3 large eggs at room temperature
- food coloring of choice to desired color
- 1/2 cup fresh blueberries
- 1 cup fresh raspberries
- 1/2 cup fresh strawberries stems removed, quartered
Frosting
- 3/4 cup granulated Xylitol
- 1/4 cup water
- 3 large egg whites (separate and use yolks in another recipe)
- 3 sticks real butter
- 2 tsp vanilla extract
Instructions
- Preheat oven to 350 degrees. Line two 6" cake pans with parchment paper cut to fit on the bottom. Spray generously with non-stick spray. Dust with flour and set aside.
- In a large mixing bowl, combine butter, sugar, salt, vanilla, and baking powder. Beat together until light and fluffy.
- Add flour and beat until it resembles a thick paste.
- Add eggs one at a time, scraping down bowl until very light and fluffy.
- Color batter with food coloring to desired color.
- Fold in blueberries.
- Transfer cake batter evenly into pans.
- Place pans on a baking sheet and transfer to pre-heated oven. Bake for 30-35 minutes or until a toothpick inserted into the center comes out clean. Transfer cans to a cooling rack and let cool completely.
- While cake is baking, make the frosting. In a saucepan, place the water and Xylitol. Heat over medium high until it comes to 240 degrees. With normal sugar this would be soft ball stage but because Xylitol and Splenda do not thicken, you cannot test this by traditional soft ball stage.
- As you are heating the sugar substitute and water, mix the egg whites in a large mixing bowl. Beat the egg whites until soft peaks form. With the mixer running, pour the hot Xylitol mixture down the side of the bowl in a thin stream, mixing into the egg whites. Beat approximately 7-10 minutes on high until the egg whites resemble a thick and glossy meringue.
- Start to add the butter in chunks, about a tablespoon at a time. Keep the mixer running and whip the mixture about 7- 10 minutes more. If the mixture breaks up when you first add the butter and it looks like cottage cheese, no worries. Just keep whipping until it's smooth again. Once the frosting is smooth, add your vanilla and whip again for a few minutes. If it's a really warm or humid day it might get too warm to work with. Just refrigerate it for about 7 minutes, whip again. The cooler temperatures will cause it to harden up again. Transfer half of the frosting to 1 bowl and then divide the remaining frosting into the other two bowls. Leave one bowl white, then tint the bowl with half the frosting the shade of color you want the top and layers to be. Tint the last bowl a shade in between the white and the darker shade. Set frosting aside while preparing cakes.
- To Frost Cake:
- Cut the tops of the cakes off to create flat cakes.
- Cut cakes in half horizontally using a long serrated knife. You should have 4 cake layers. Set the bottom two layers aside to use for the top and bottom.
- Using a 3"- 4"round lid(or sippy cup lid), cut a round out of the center of the two remaining cake layers using a thin knife.
- Place one of the bottom layers bottom side down on a serving plate. Frost top with a thin layer of the darkest frosting. Carefully place one layer with a hole in it on top of the first layer. Frost top with the same frosting. Place second cake layer with the hole in it on top. Frost with the same frosting.
- Fill cavity with raspberries and strawberries.
- Place remaining bottom layer cut side down on top of fruit filled cake.
- Frost outside of cake:
- Starting with the reserved white frosting, using an offset spatula, spread a 1-2" wide band around cake, being careful not to frost anything else except the bottom. Next, using the reserved medium shade frosting, repeat frosting process with the middle section of cake. Finish the top section and top with the remaining darkest frosting. Run the spatula around side one more time to blend colors. Smooth top.
- Using a small spoon, create small peaks by pressing the back of the spoon into the frosting , then pulling it straight out. Repeat that around the entire cake and on top. Chill cake until ready to serve. To serve, place in front of your child and enjoy the fun.


Reading your words felt like finding a piece of myself I didn’t know was missing. There’s something so deeply human about the way you write — something that reaches out and touches the heart. You’ve managed to articulate emotions and thoughts that many of us experience but struggle to express, and in doing so, you’ve created a work that is both personal and universal.
There’s a quiet strength in your words that makes them linger long after reading.
I find myself at a loss for words to describe how deeply this resonated with me. It’s not every day that a piece of writing moves beyond the surface to touch something profound and unspoken. You’ve managed to do exactly that — to reach beyond the usual layers of thought and offer something that feels real, true, and deeply meaningful.
There’s a kind of quiet beauty in your words — they don’t shout for attention, but they capture it nonetheless.
Reading your words was like finding a hidden gem in a vast landscape — rare, precious, and full of meaning.
This was beautiful Admin. Thank you for your reflections.
There are actually numerous details like that to take into consideration. That may be a nice level to bring up. I offer the thoughts above as basic inspiration however clearly there are questions just like the one you deliver up the place a very powerful thing will probably be working in honest good faith. I don?t know if finest practices have emerged round things like that, but I am positive that your job is clearly recognized as a good game. Each boys and girls really feel the influence of just a second’s pleasure, for the rest of their lives.
This cake is so wonderfully clever on all levels – the colors, the fruit surprise and the frosting are off the charts cool. I can see this type of cake for so many fun celebrations and truly special for a little boy’s first birthday. You both are amazing and thank you for sharing such greatness!
ps….LOVING your cookbook!!